Overview
With release-2024-05, we introduced the first version of the Livingdocs Assistants Platform. This platform works on top of the Document Command API and offers a UI in the Livingdocs Editor for users to trigger assistants.
These assistants support document manipulations to streamline the content creation process.
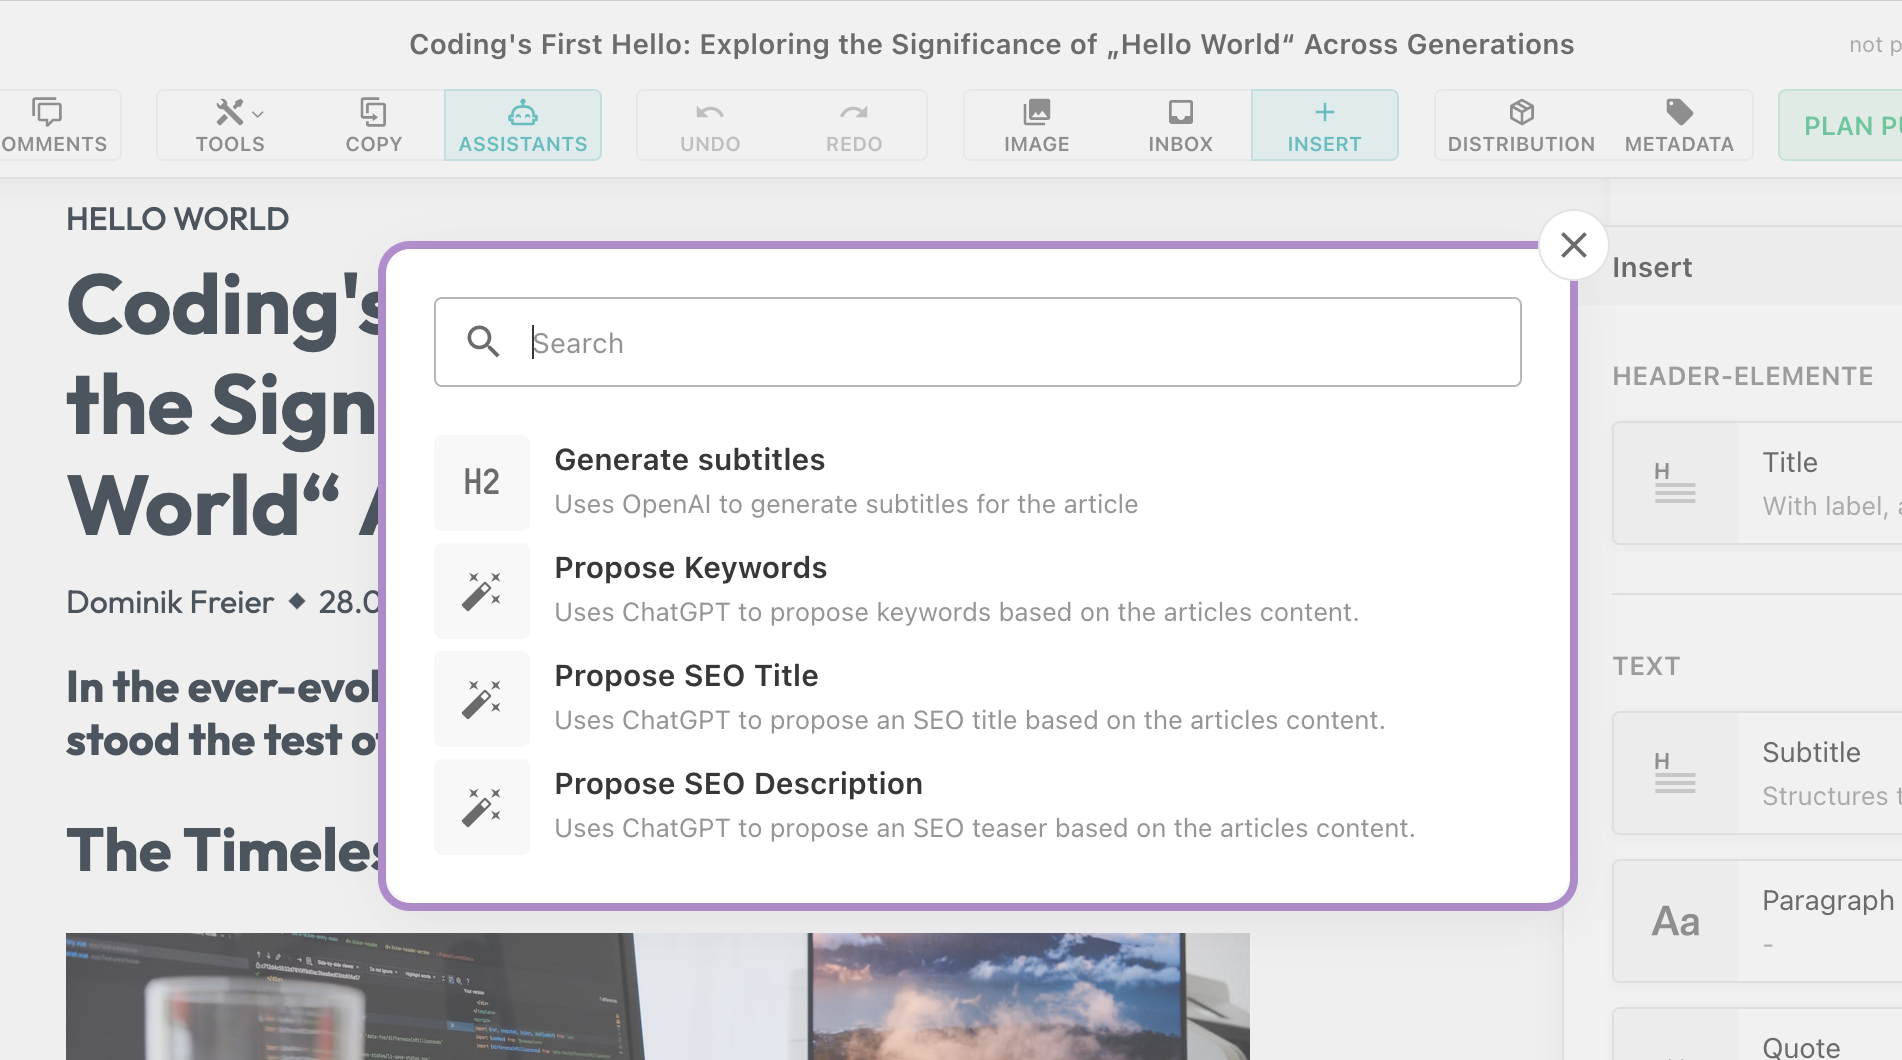
Livingdocs Assistants are designed to understand the user’s context and return document commands that are then executed server-side.
This feature allows for document manipulations through a simplified interface,
initiated from the editor UI using the Cmd+K (macOS) or Ctrl+K (Windows/Linux) shortcut,
where users can find and execute available assistants.
With release-2024-07 further improvements have been made:
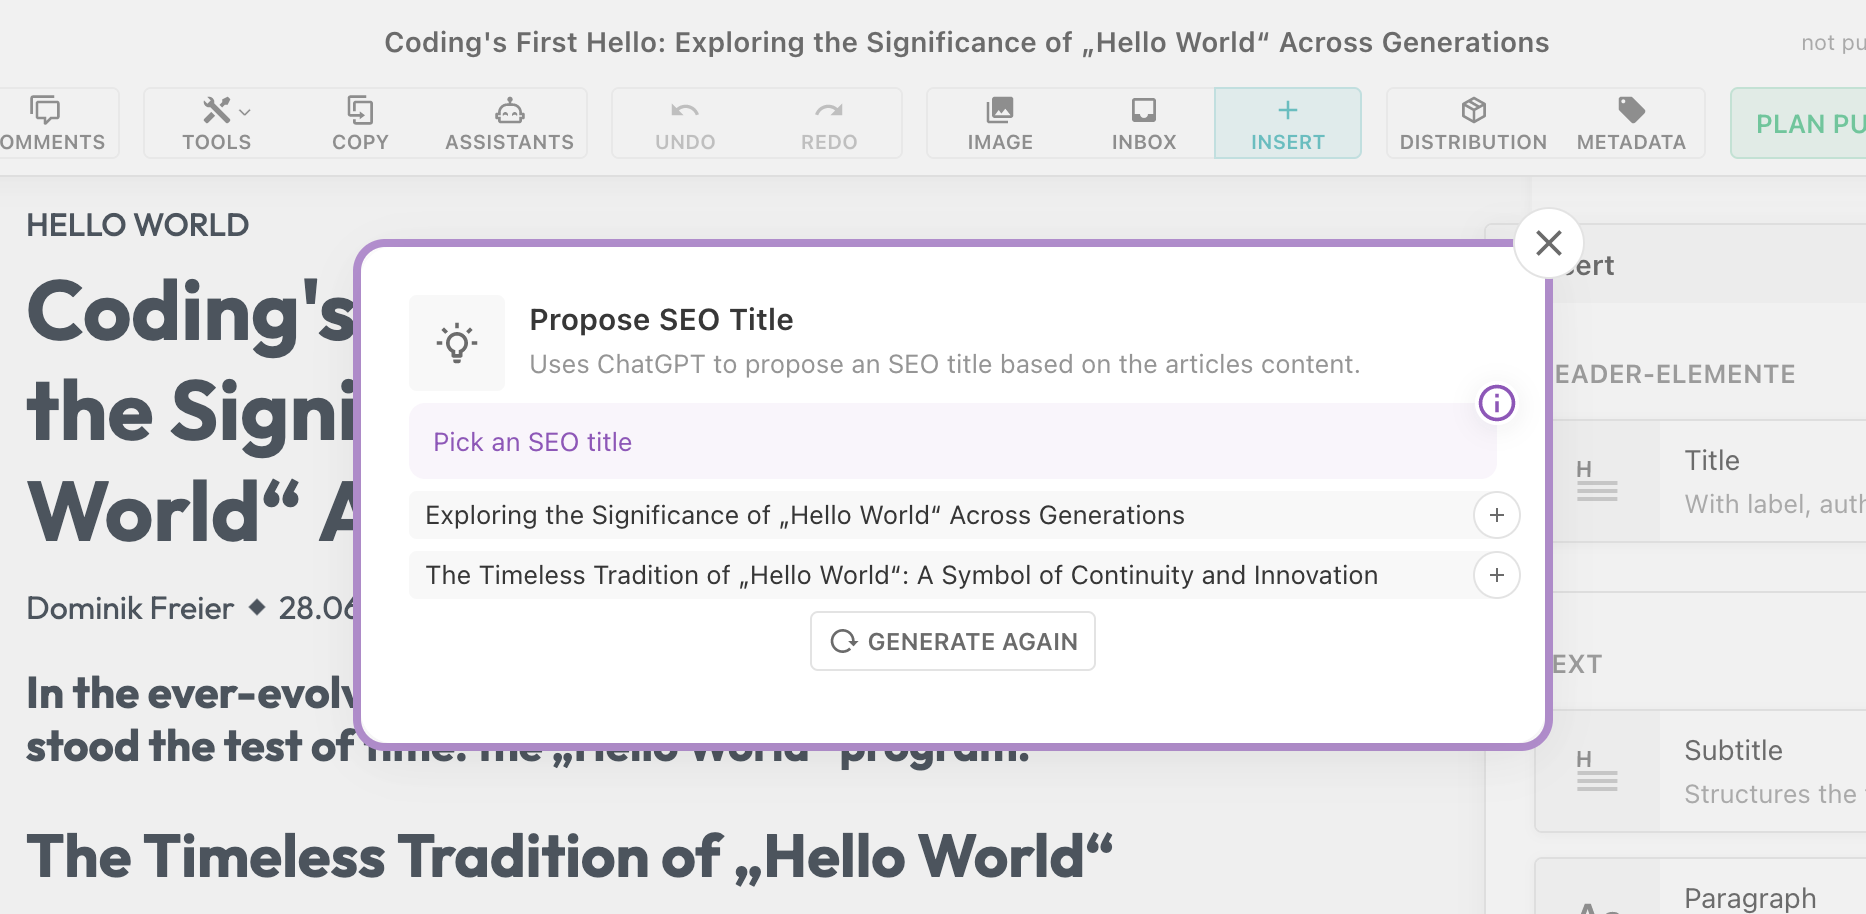
- Propose multiple options for users to choose from before executing commands
- Live-filtering of assistants based on context conditions
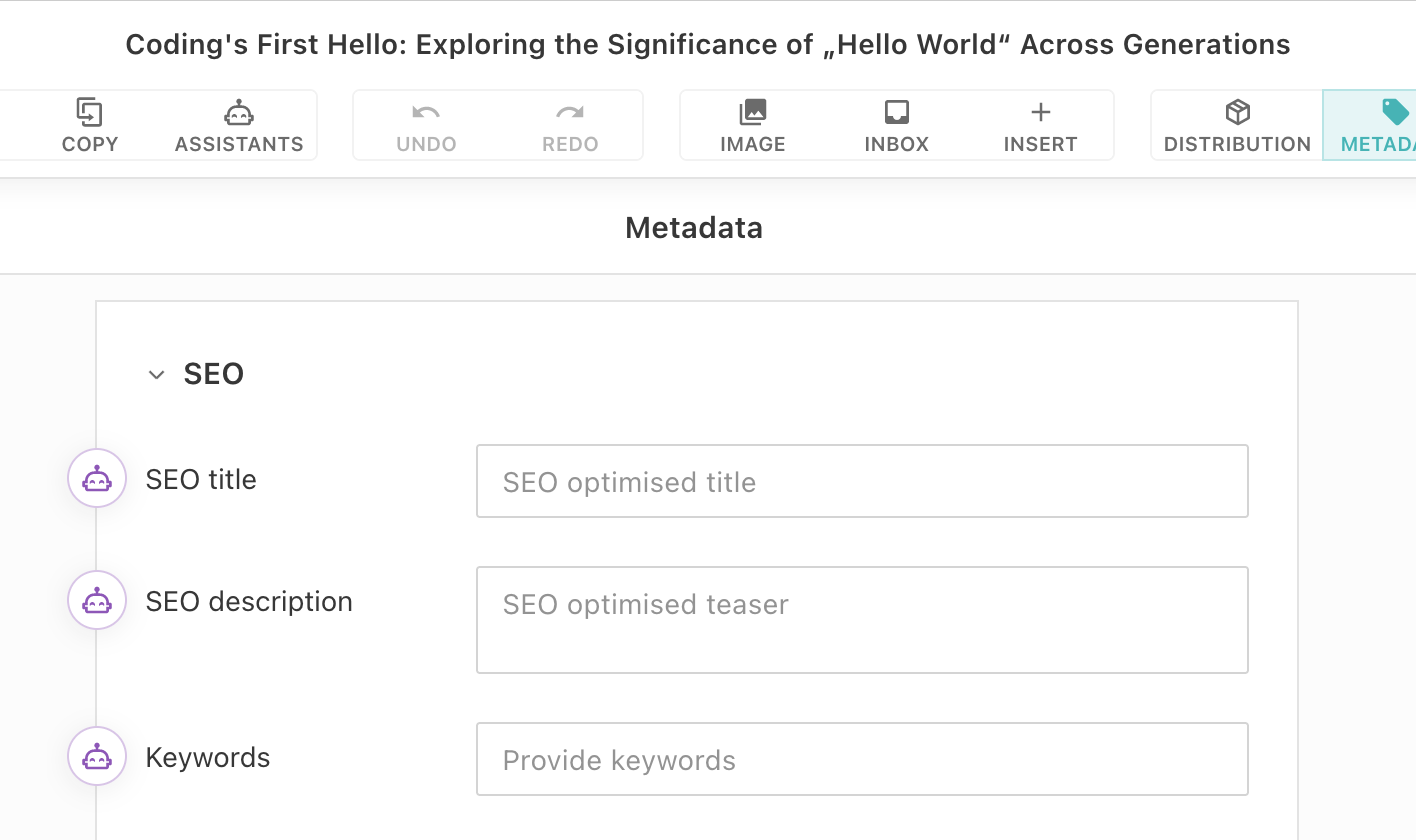
- Assistant Buttons next to Metadata Form Fields


With release-2024-11 we added the following improvements:
- Showing custom error messages
- Assistant Buttons next to a focused component


Document Command API
The commands returned by assistants are handled by our Document Command API,
which supports a variety of operations for manipulating documents. In the context of assistants, all commands are available except the
publish and unpublish commands.
Assistant Actors
We believe content created by AI should be denoted as such from the beginning. This is why all changes to documents made as a result of commands from assistants are associated with a special Actor. Per project/assistant combination, a new Actor is created as soon as a document is modified by an assistant. The assistant Actor appears as a special user in the Collaboration UI and is also visible in the history.
Example
Here’s how you can register an assistant within your project using the liServer.registerAssistant function.
The example shows all available configuration properties, which are explained in more detail further below.
liServer.registerInitializedHook(async () => {
  liServer.registerAssistant({
    handle: 'exampleAssistant',
    label: {
      en: 'Example Assistant'
    },
    description: {
      en: 'Just an example.'
    },
    icon: 'example-icon',
    projectHandles: ['exampleProject'],
    contextConditions: {
      documentRequired: true,
      contentTypes: ['exampleContentType']
    },
    showAssistantTriggerButton: {
      metadataPropertyName: 'examplePropertyName',
      focusedComponentName: 'exampleComponentHandle'
    },
    async assist({context}) {
      const {projectConfig, document, focusedComponentId} = context
      const results = await exampleGenAIService(document)
      if (letUserChooseOption) {
        return {
          proposal: {
            description: {en: '...'},
            options: [
              {
                label: {en: '...'},
                commands: [{operation: '...'}]
              }
            ]
          }
        }
      } else {
        return {
          commands: [{operation: '...'}]
        }
      }
    }
  })
})
Configuration Properties
handle
Unique identifier for the assistant. Together with a project id, it forms the identity of an assistant actor.
label
Label to be shown in the User Interface. Can be a string or an object with language keys for translations.
description
Short description shown in the User Interface to communicate the assistant’s intention. Can be a string or an object with language keys for translations.
icon (optional)
Icon to be shown in the User Interface. Needs to be the name of a material design icon name.
contextConditions.documentRequired (optional)
When set to true, the assistant is only shown in the User Interface if a document is in the current context. The assist function no longer needs to check if context.document exists.
contextConditions.contentTypes (optional)
When provided with an array of Content Type handles, the assistant is only shown in the User Interface if a document with such a Content Type is in the current context. The assist function no longer needs to check for the correct Content Type.
showAssistantTriggerButton.metadataPropertyName (optional)
When provided with a metadata property name and all context conditions are fulfilled, an Assistant Button is shown next to the metadata field in the document’s metadata form. Notice that the metadata property has no other relation to the assistant other than being a User Interface element that allows to trigger it. The assistant is still shown in the K-Menu.
Assist function parameters
Possible properties on context:
projectConfigdocumentId(optional)document(optional)focusedComponentId(optional)
Assist function return value
For immediate command execution without further user interaction, return an array of commands in the commands property.
If one or multiple sets of commands should be shown to the user for selection, return the proposal property.
See example assistant above for type details.
Trigger Buttons
Trigger buttons have been added to metadata form fields as well as components. These enable users to trigger an assistant directly on that component / metadata field. To configure them the showAssistantTriggerButton config has to be set:
metadataPropertyNamefocusedComponentName
If two or more assistants are registered a k-menu will be opened only with the available assistants on this focused component / metadata field. Assistants which are registered on a focused component are not shown in the normal k-menu.
See example assistant above.
Error responses
A default error response is shown in cases when an assistant fails. With release-2024-11 we added two ways to respond with a custom
error message.
In the assist function either an error object can be returned in the response:
{
  error: {
    translatedMessage: {
      de: 'Etwas ist falsch gelaufen',
      en: 'Something went wrong'
  },
  commands: []
}
Or a validationError can be thrown:
// Be aware that no error gets logged on the server when you throw a validationError
const {validationError} = require('@livingdocs/server').errors
throw validationError({
  translatedMessage: {
    en: 'Something went wrong',
    de: 'Etwas ist schief gelaufen'
  }
})
Benefits and Use Cases
Integrating Livingdocs Assistants can significantly improve workflow efficiency, enabling fewer clicks and more automation in document handling. Below are a few potential use cases for such assistants:
- Adding subtitles: Automatically analyzing content and structuring it with appropriate subtitles.
- Writing Leads: Generating compelling leads for articles to capture reader interest.
- SEO Optimization: Automatically setting SEO metadata to improve search engine visibility.
We encourage developers to explore these capabilities and consider how they can be adapted to enhance their workflows.