For users who want to store their images, files and design assets in Azure Blob Storage container rather than on Amazon S3, we provide a separate storage strategy.
Setting up Azure Blob Storage
In order to integrate Azure Blob with Livingdocs, you need to make sure you have the following things set up properly:
- An Azure Storage Account.
- At least one container on your Azure Storage Account.
- SAS Token.
Create Storage Account
To create a new Storage Account go to your Azure Portal and search for
Storage Accountservice.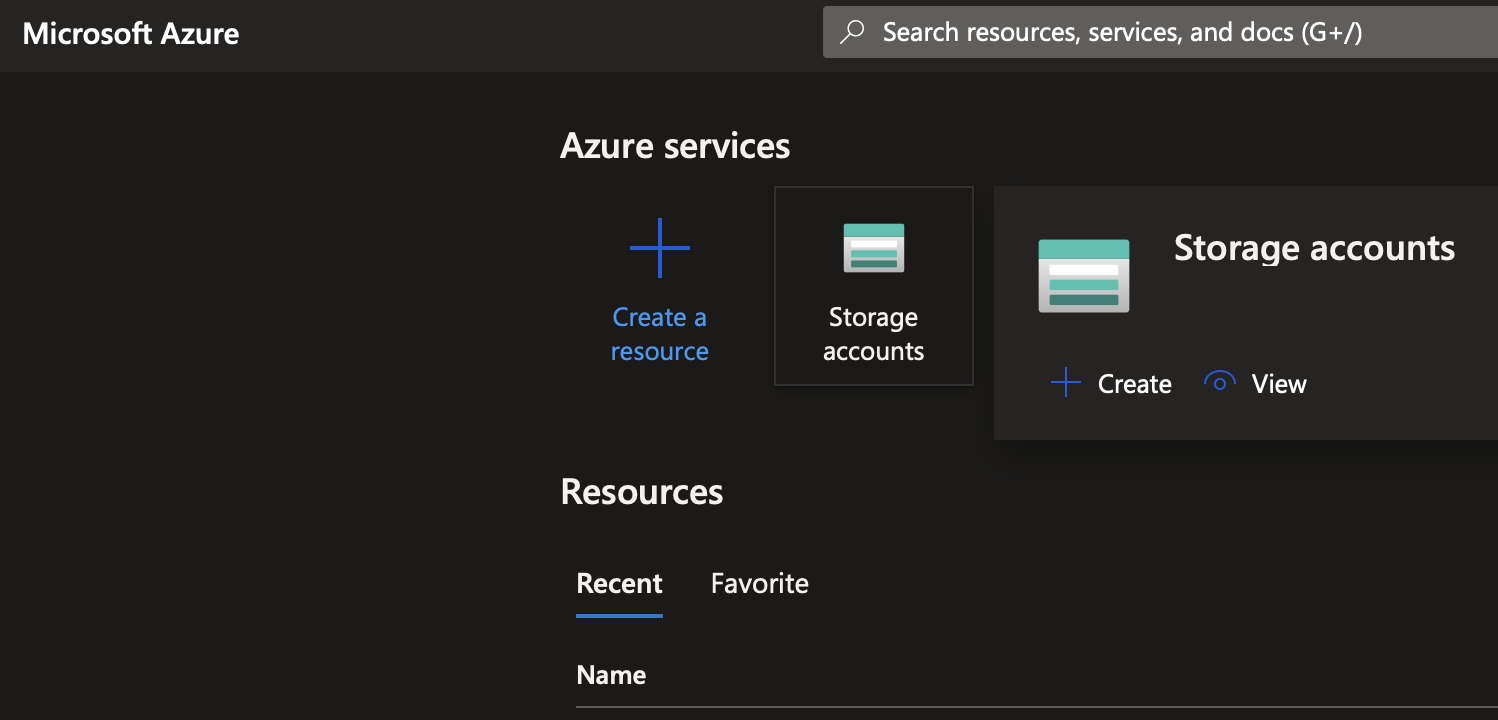
Create a new Storage Account with
+ Createbutton.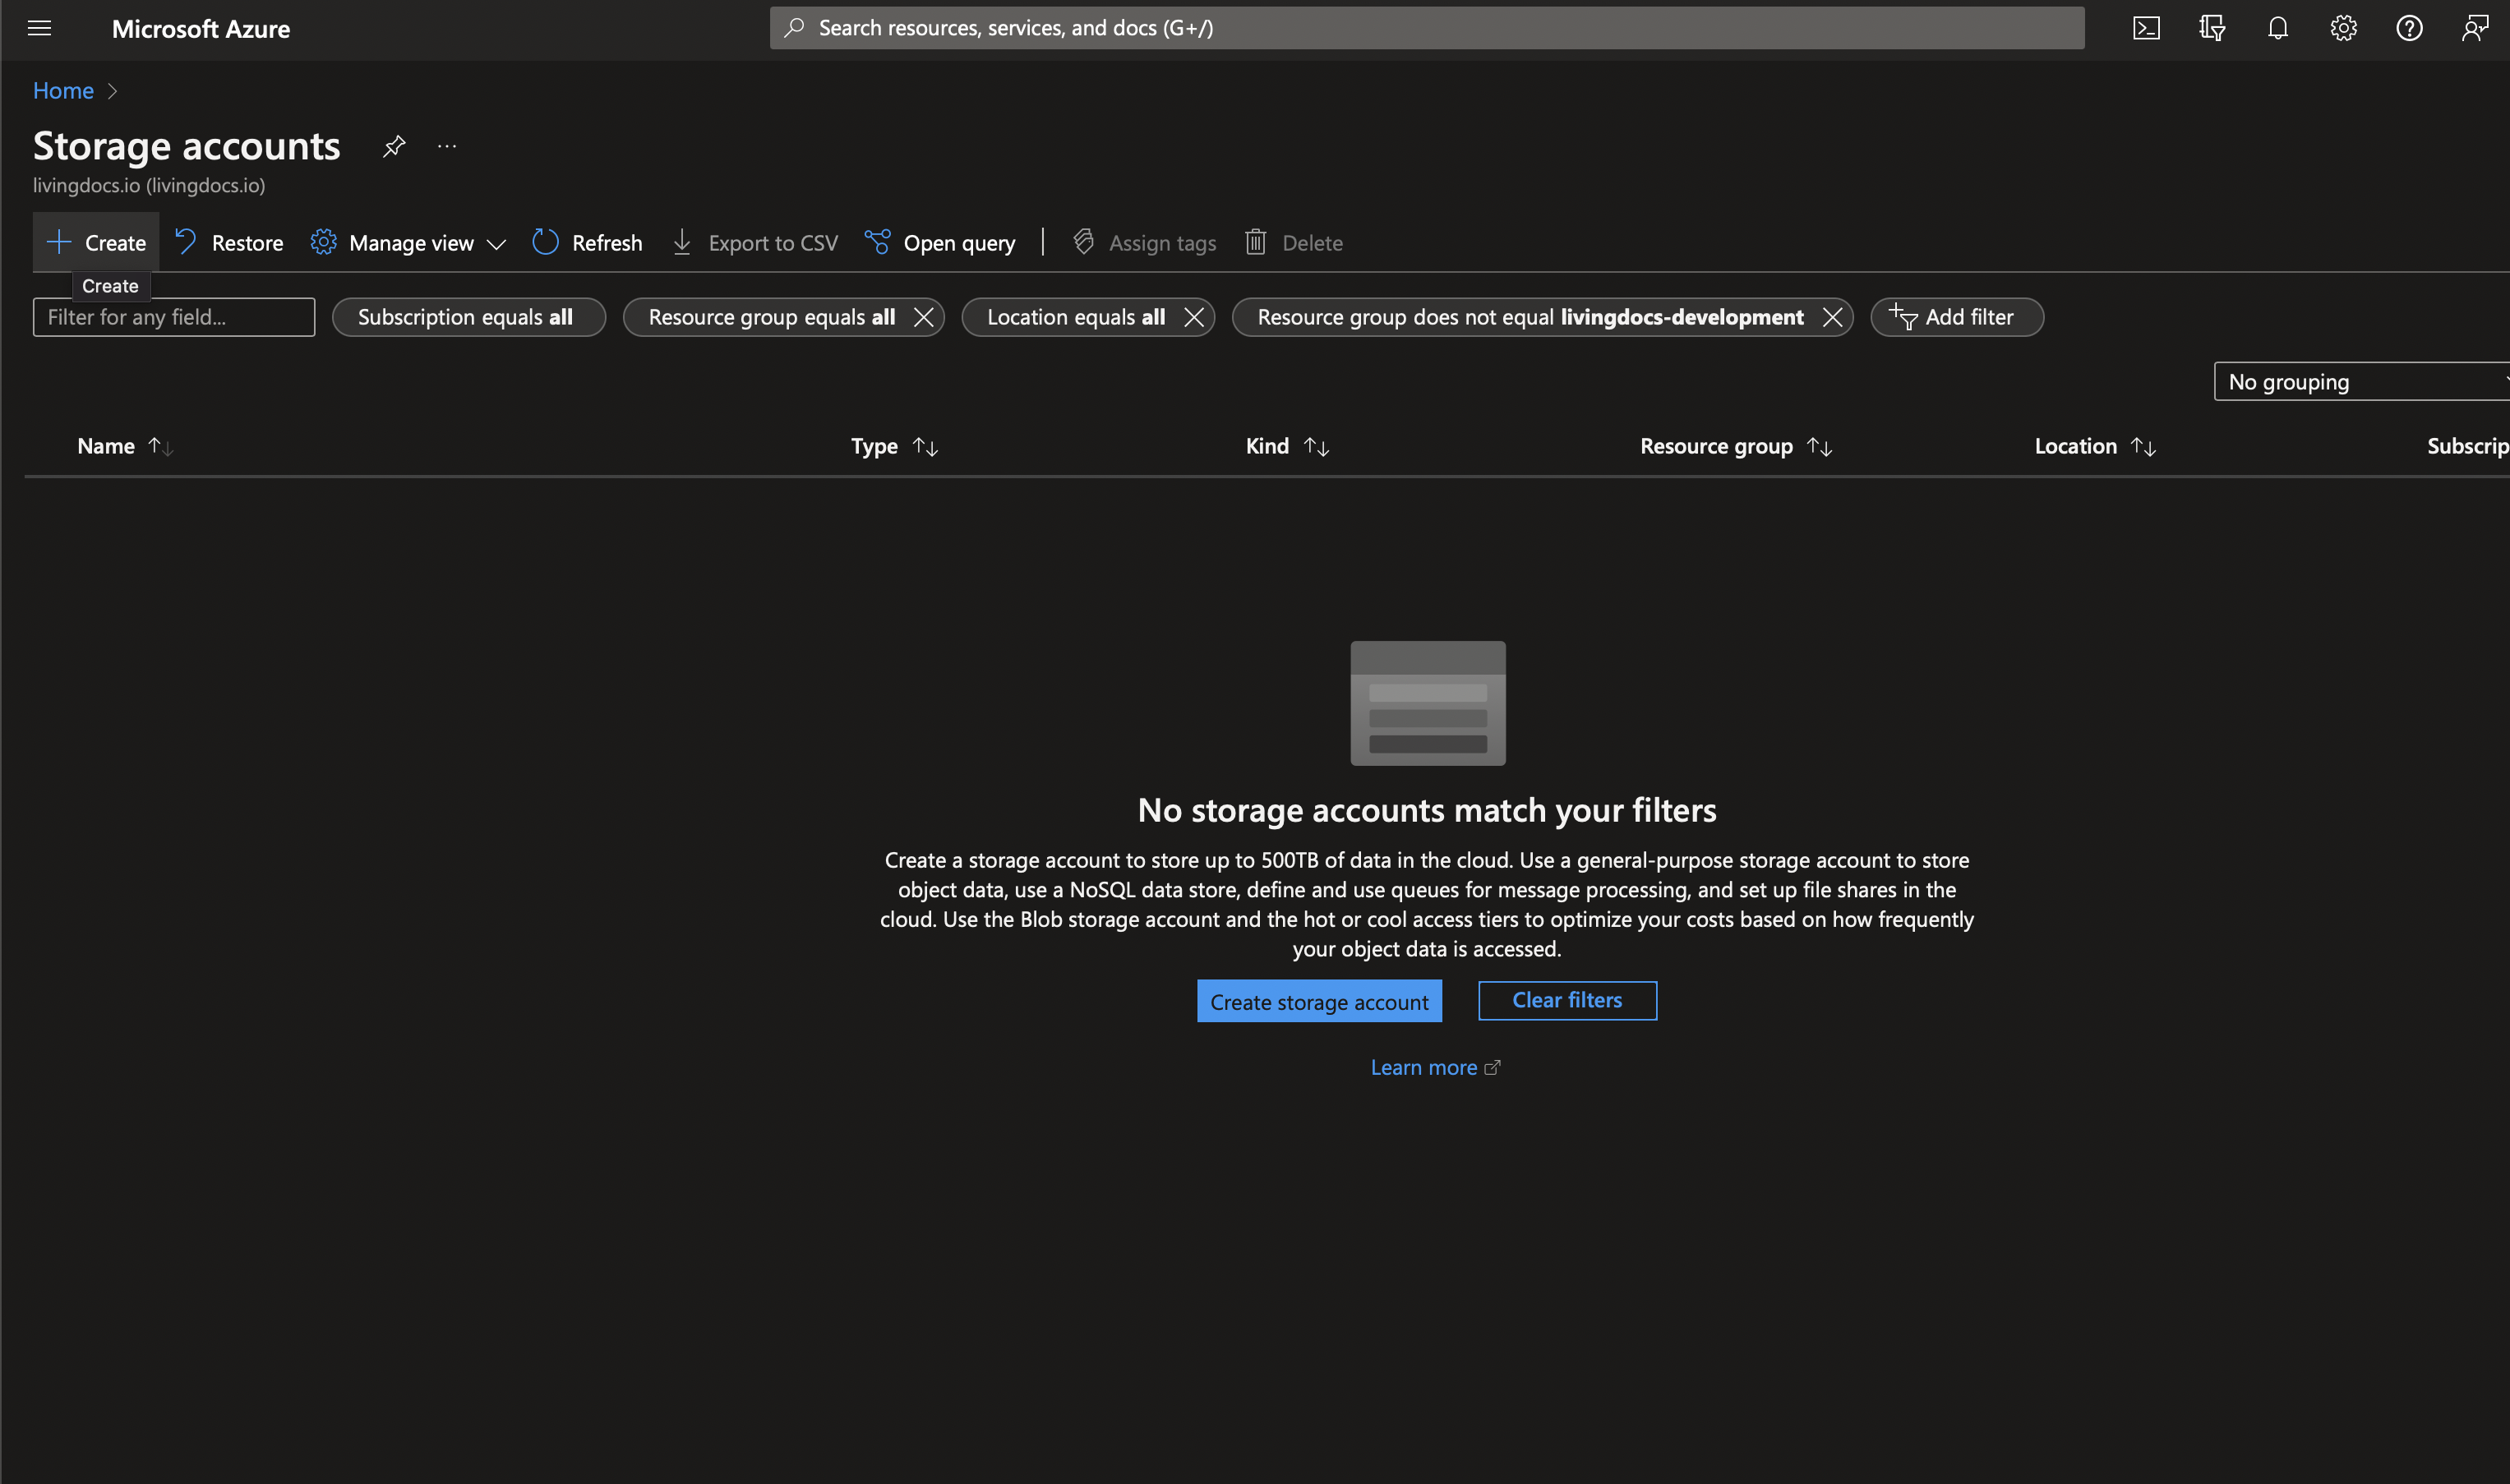
Fill the configuration according to your needs (i.e.
renduncacy,region) under basics tab.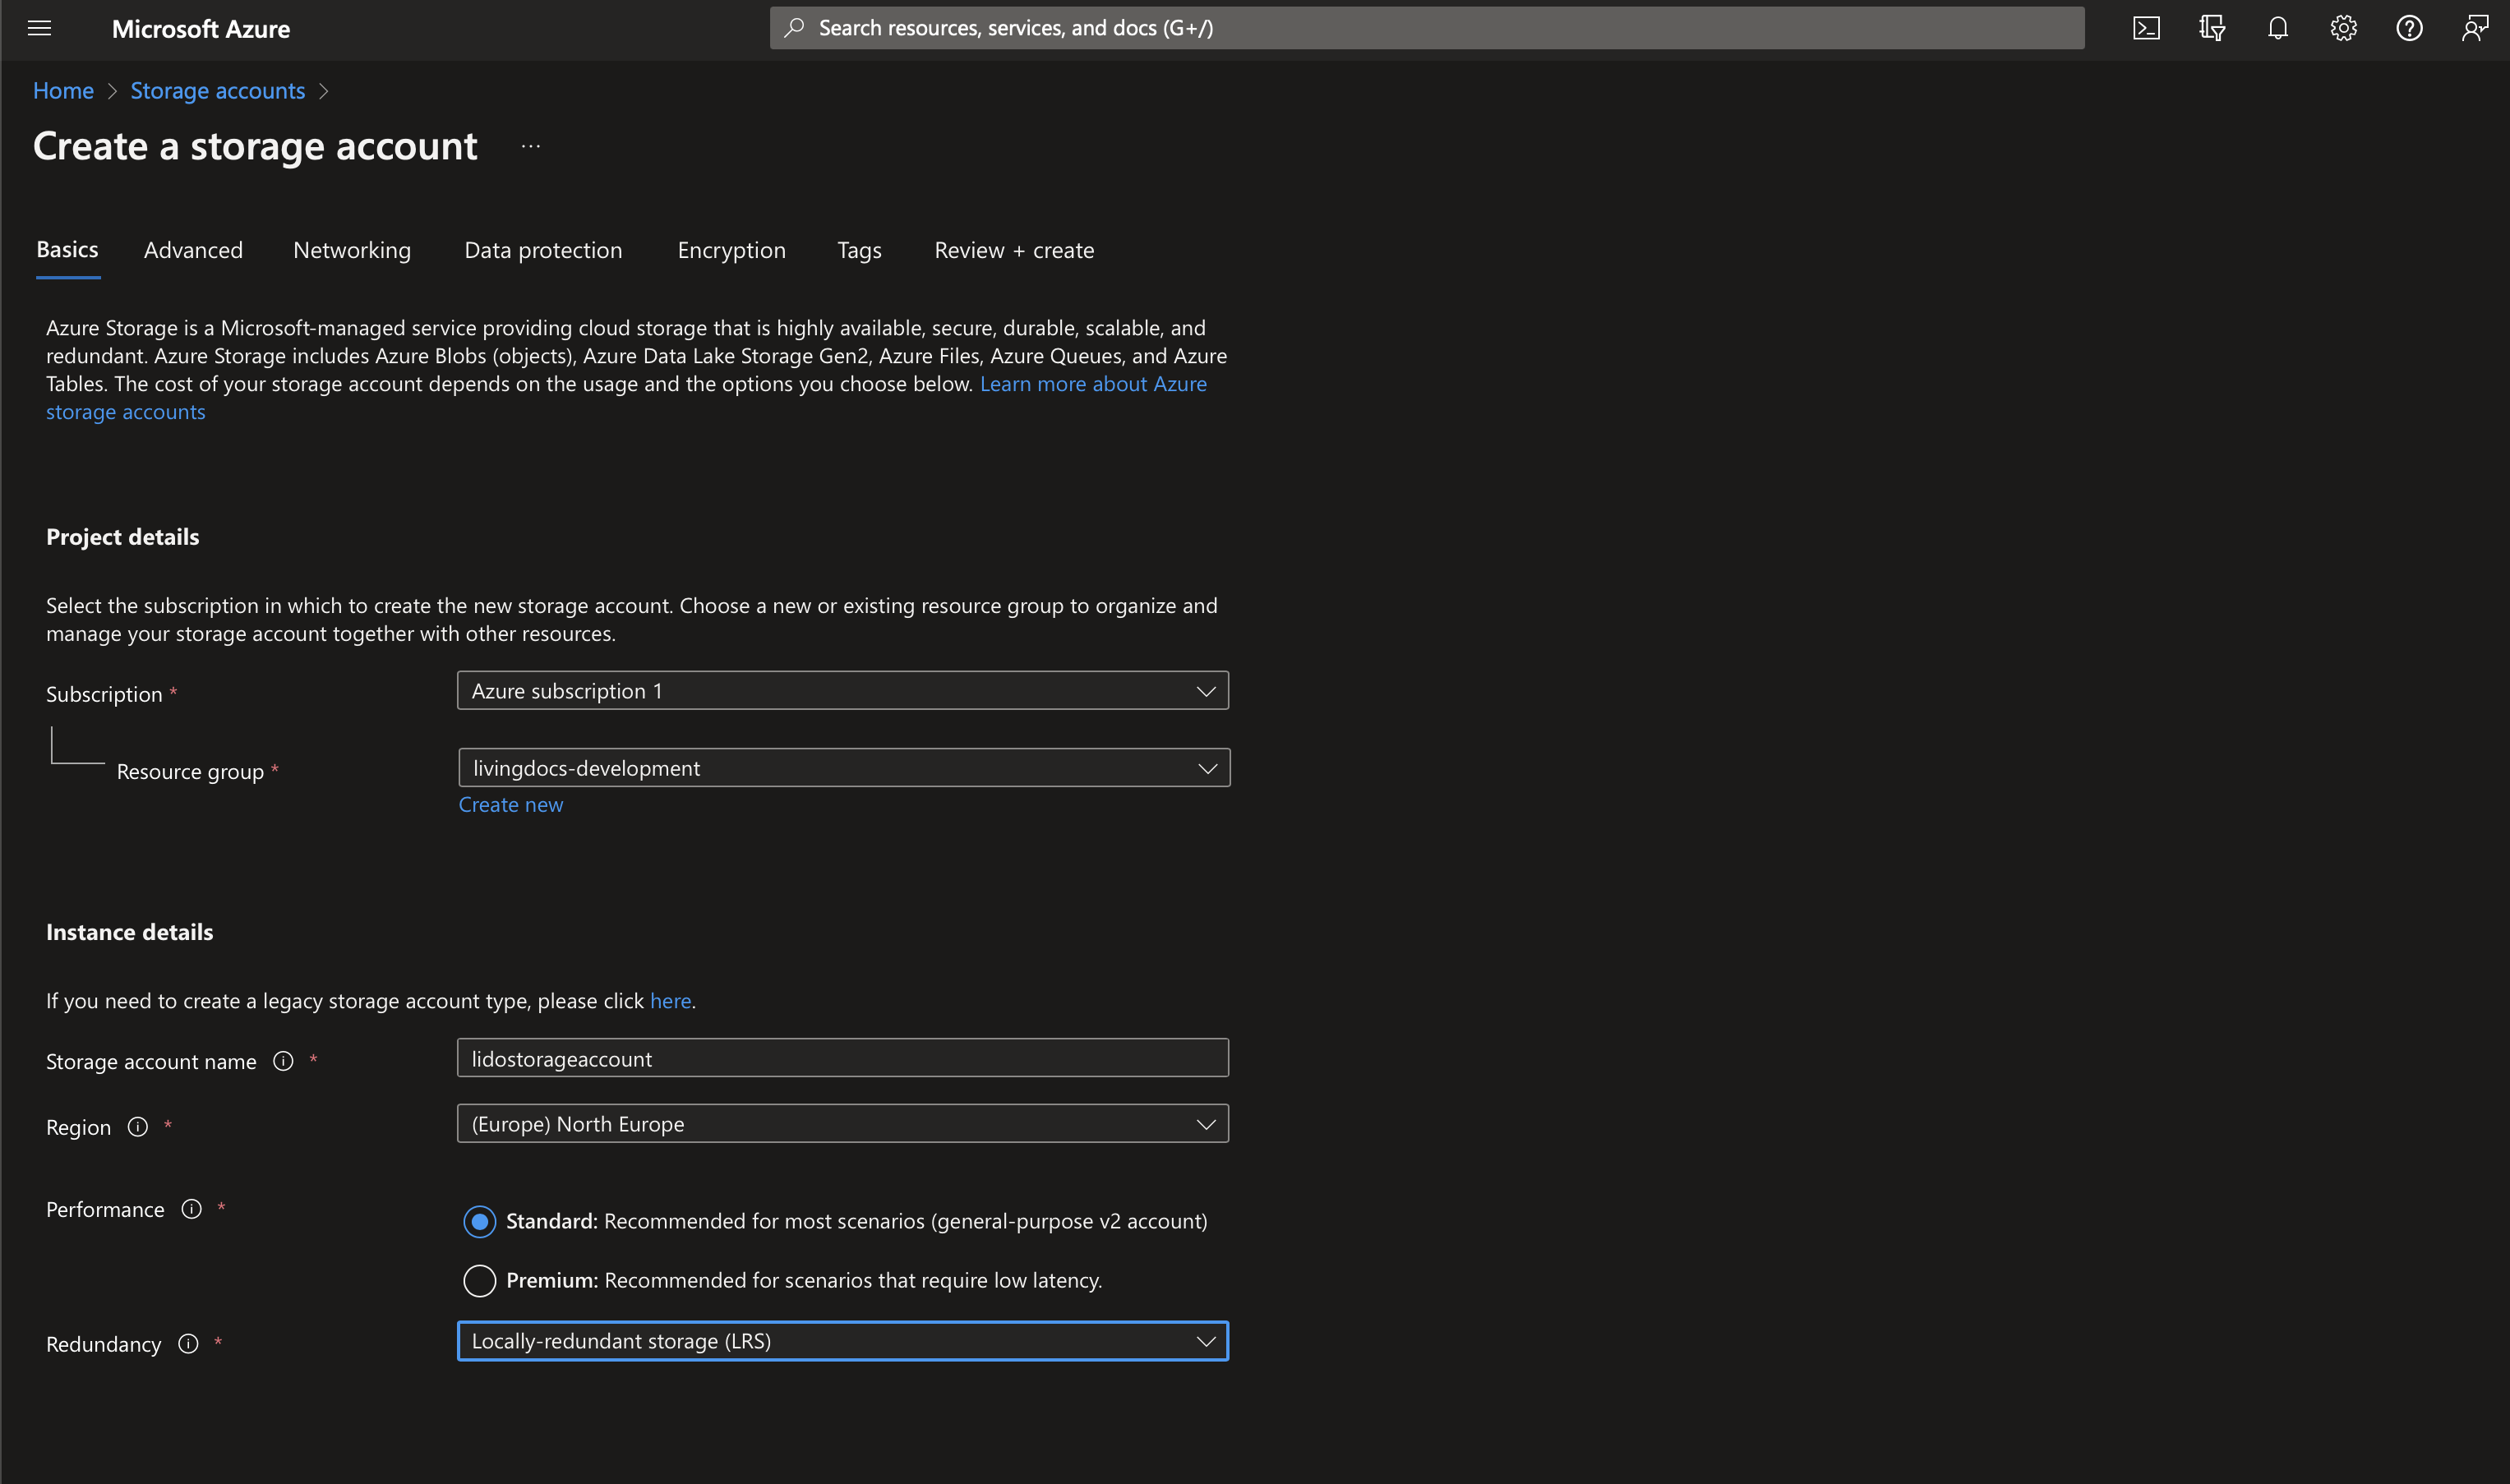
In Advance tab, choose
enable public access from all networks, to allow Imgix access to the Storage Account.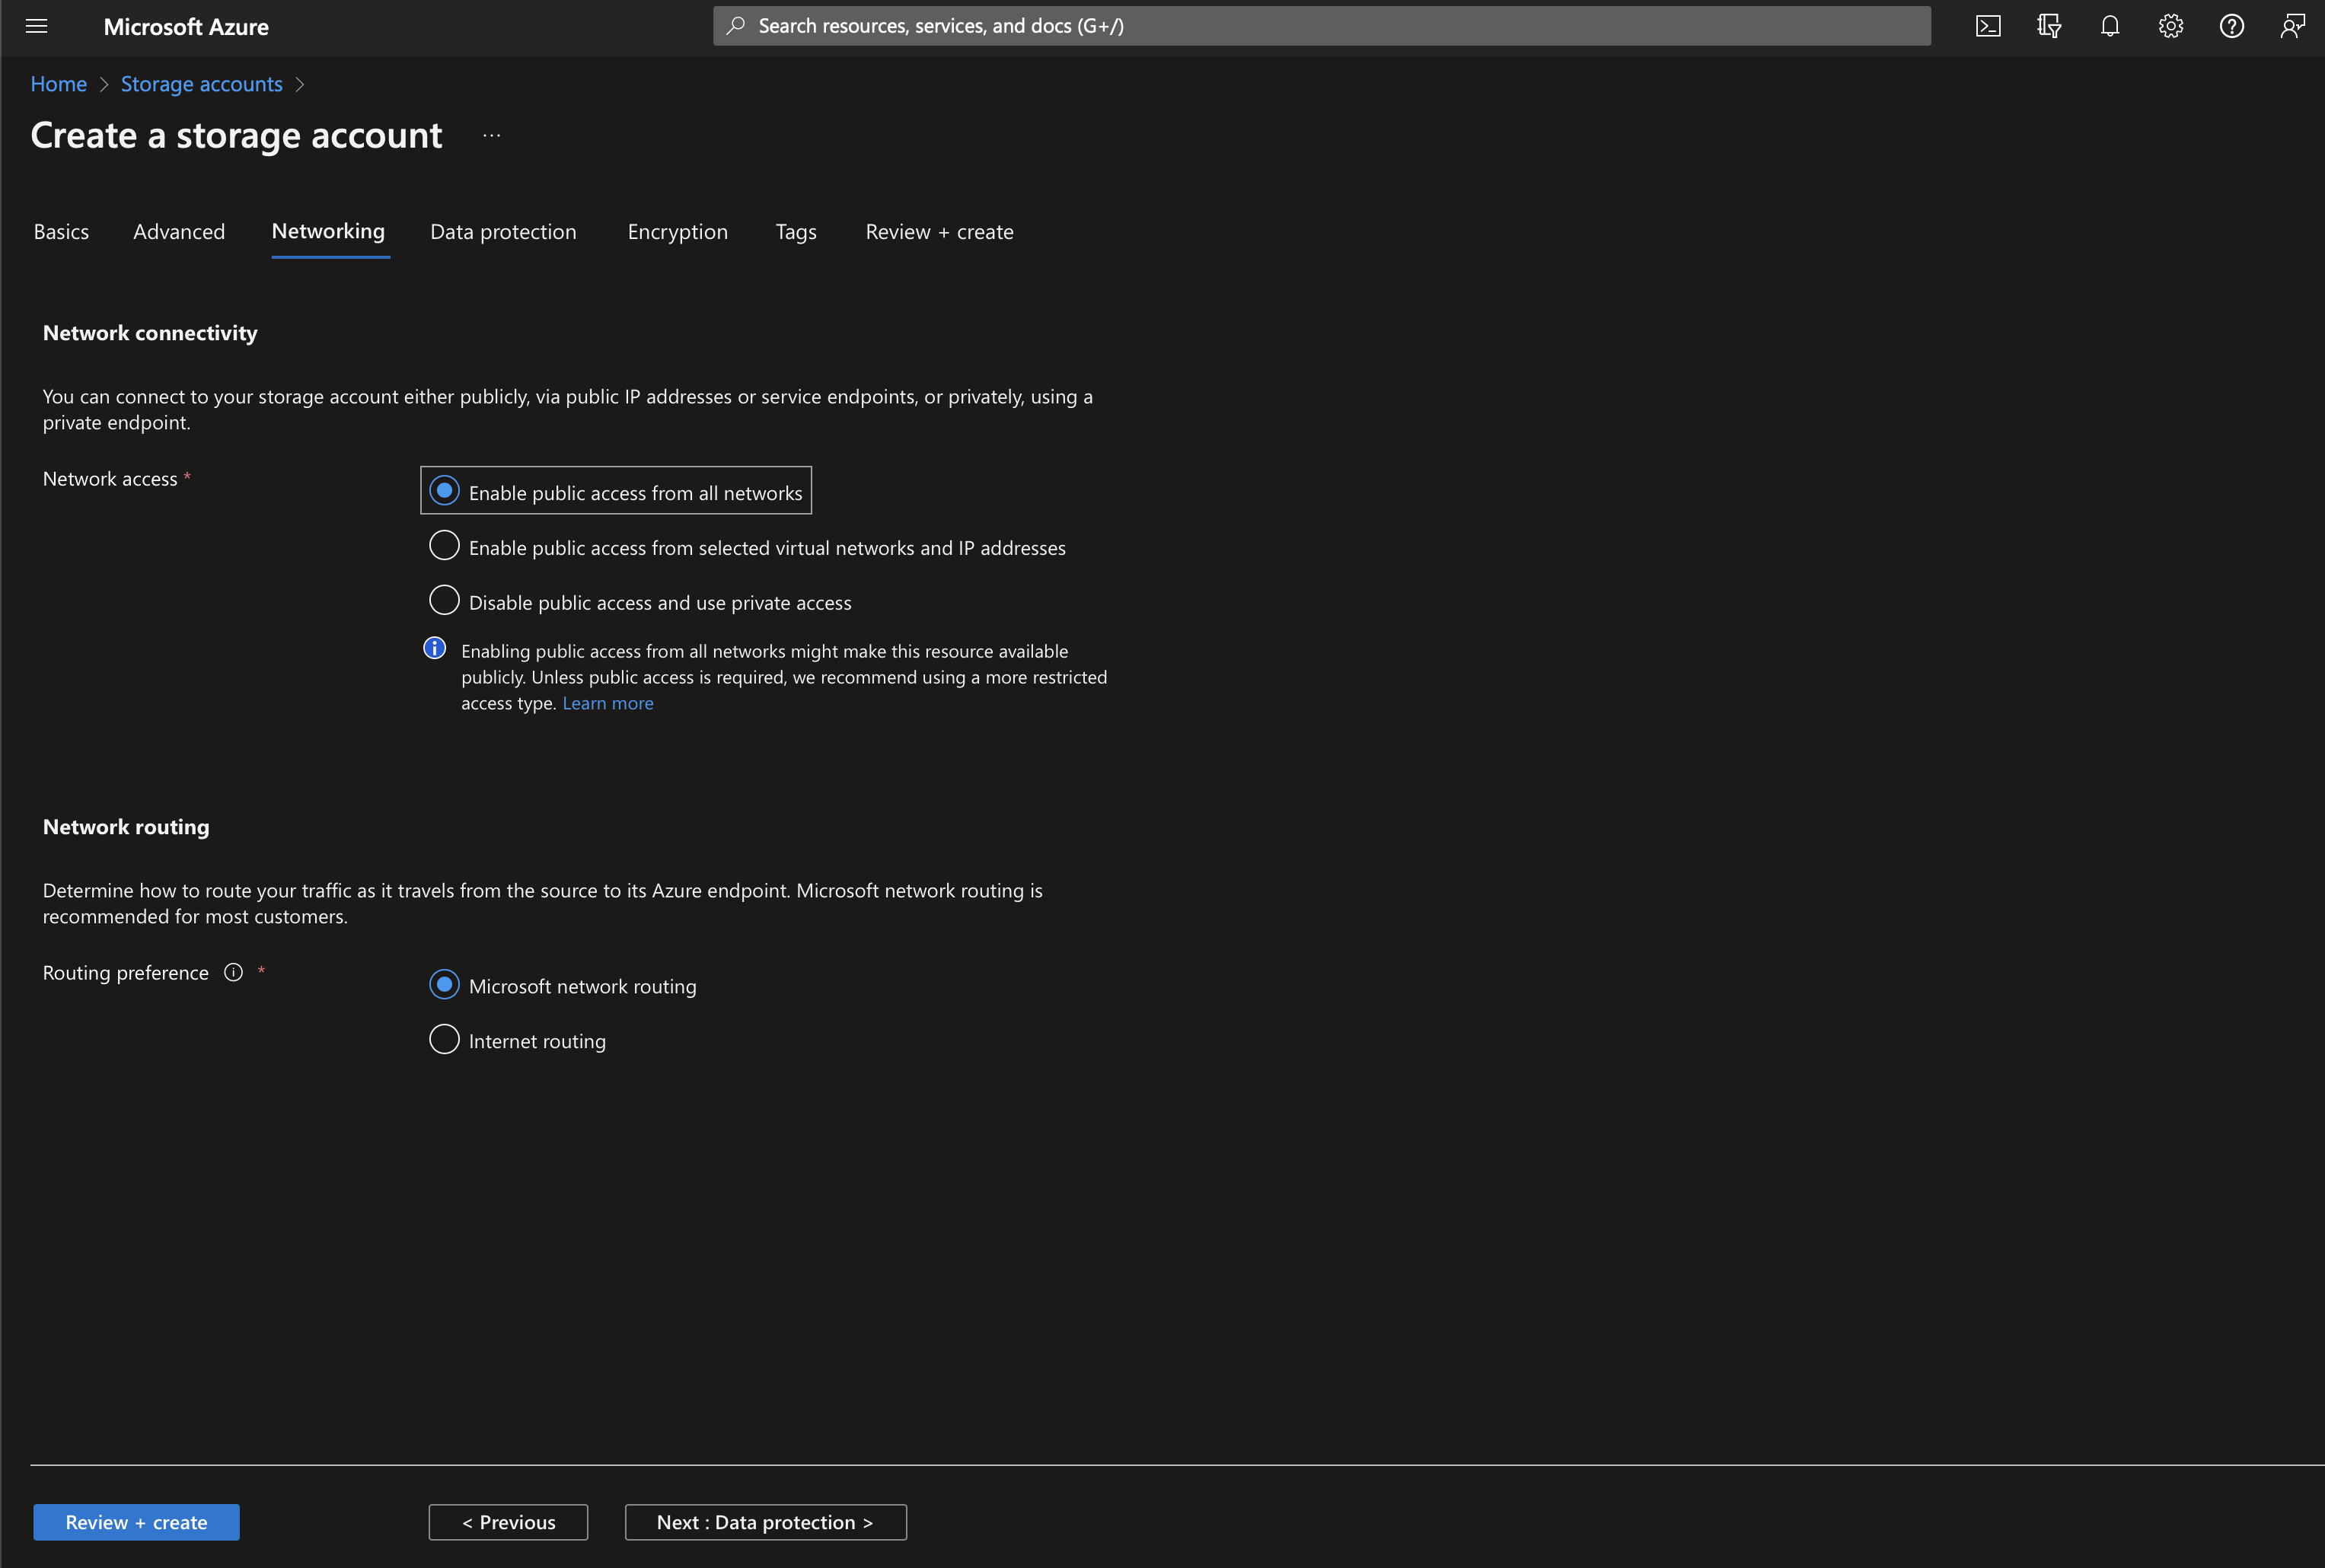
In
Review + Createtab, check the configuration matches your needs, then pressCreate.
Create Container
At least one container is needed to store your media documents. In the Storage Account left sidebar go to Containers, then create a new container using + Container button. Define your preferred name, access level and press Create.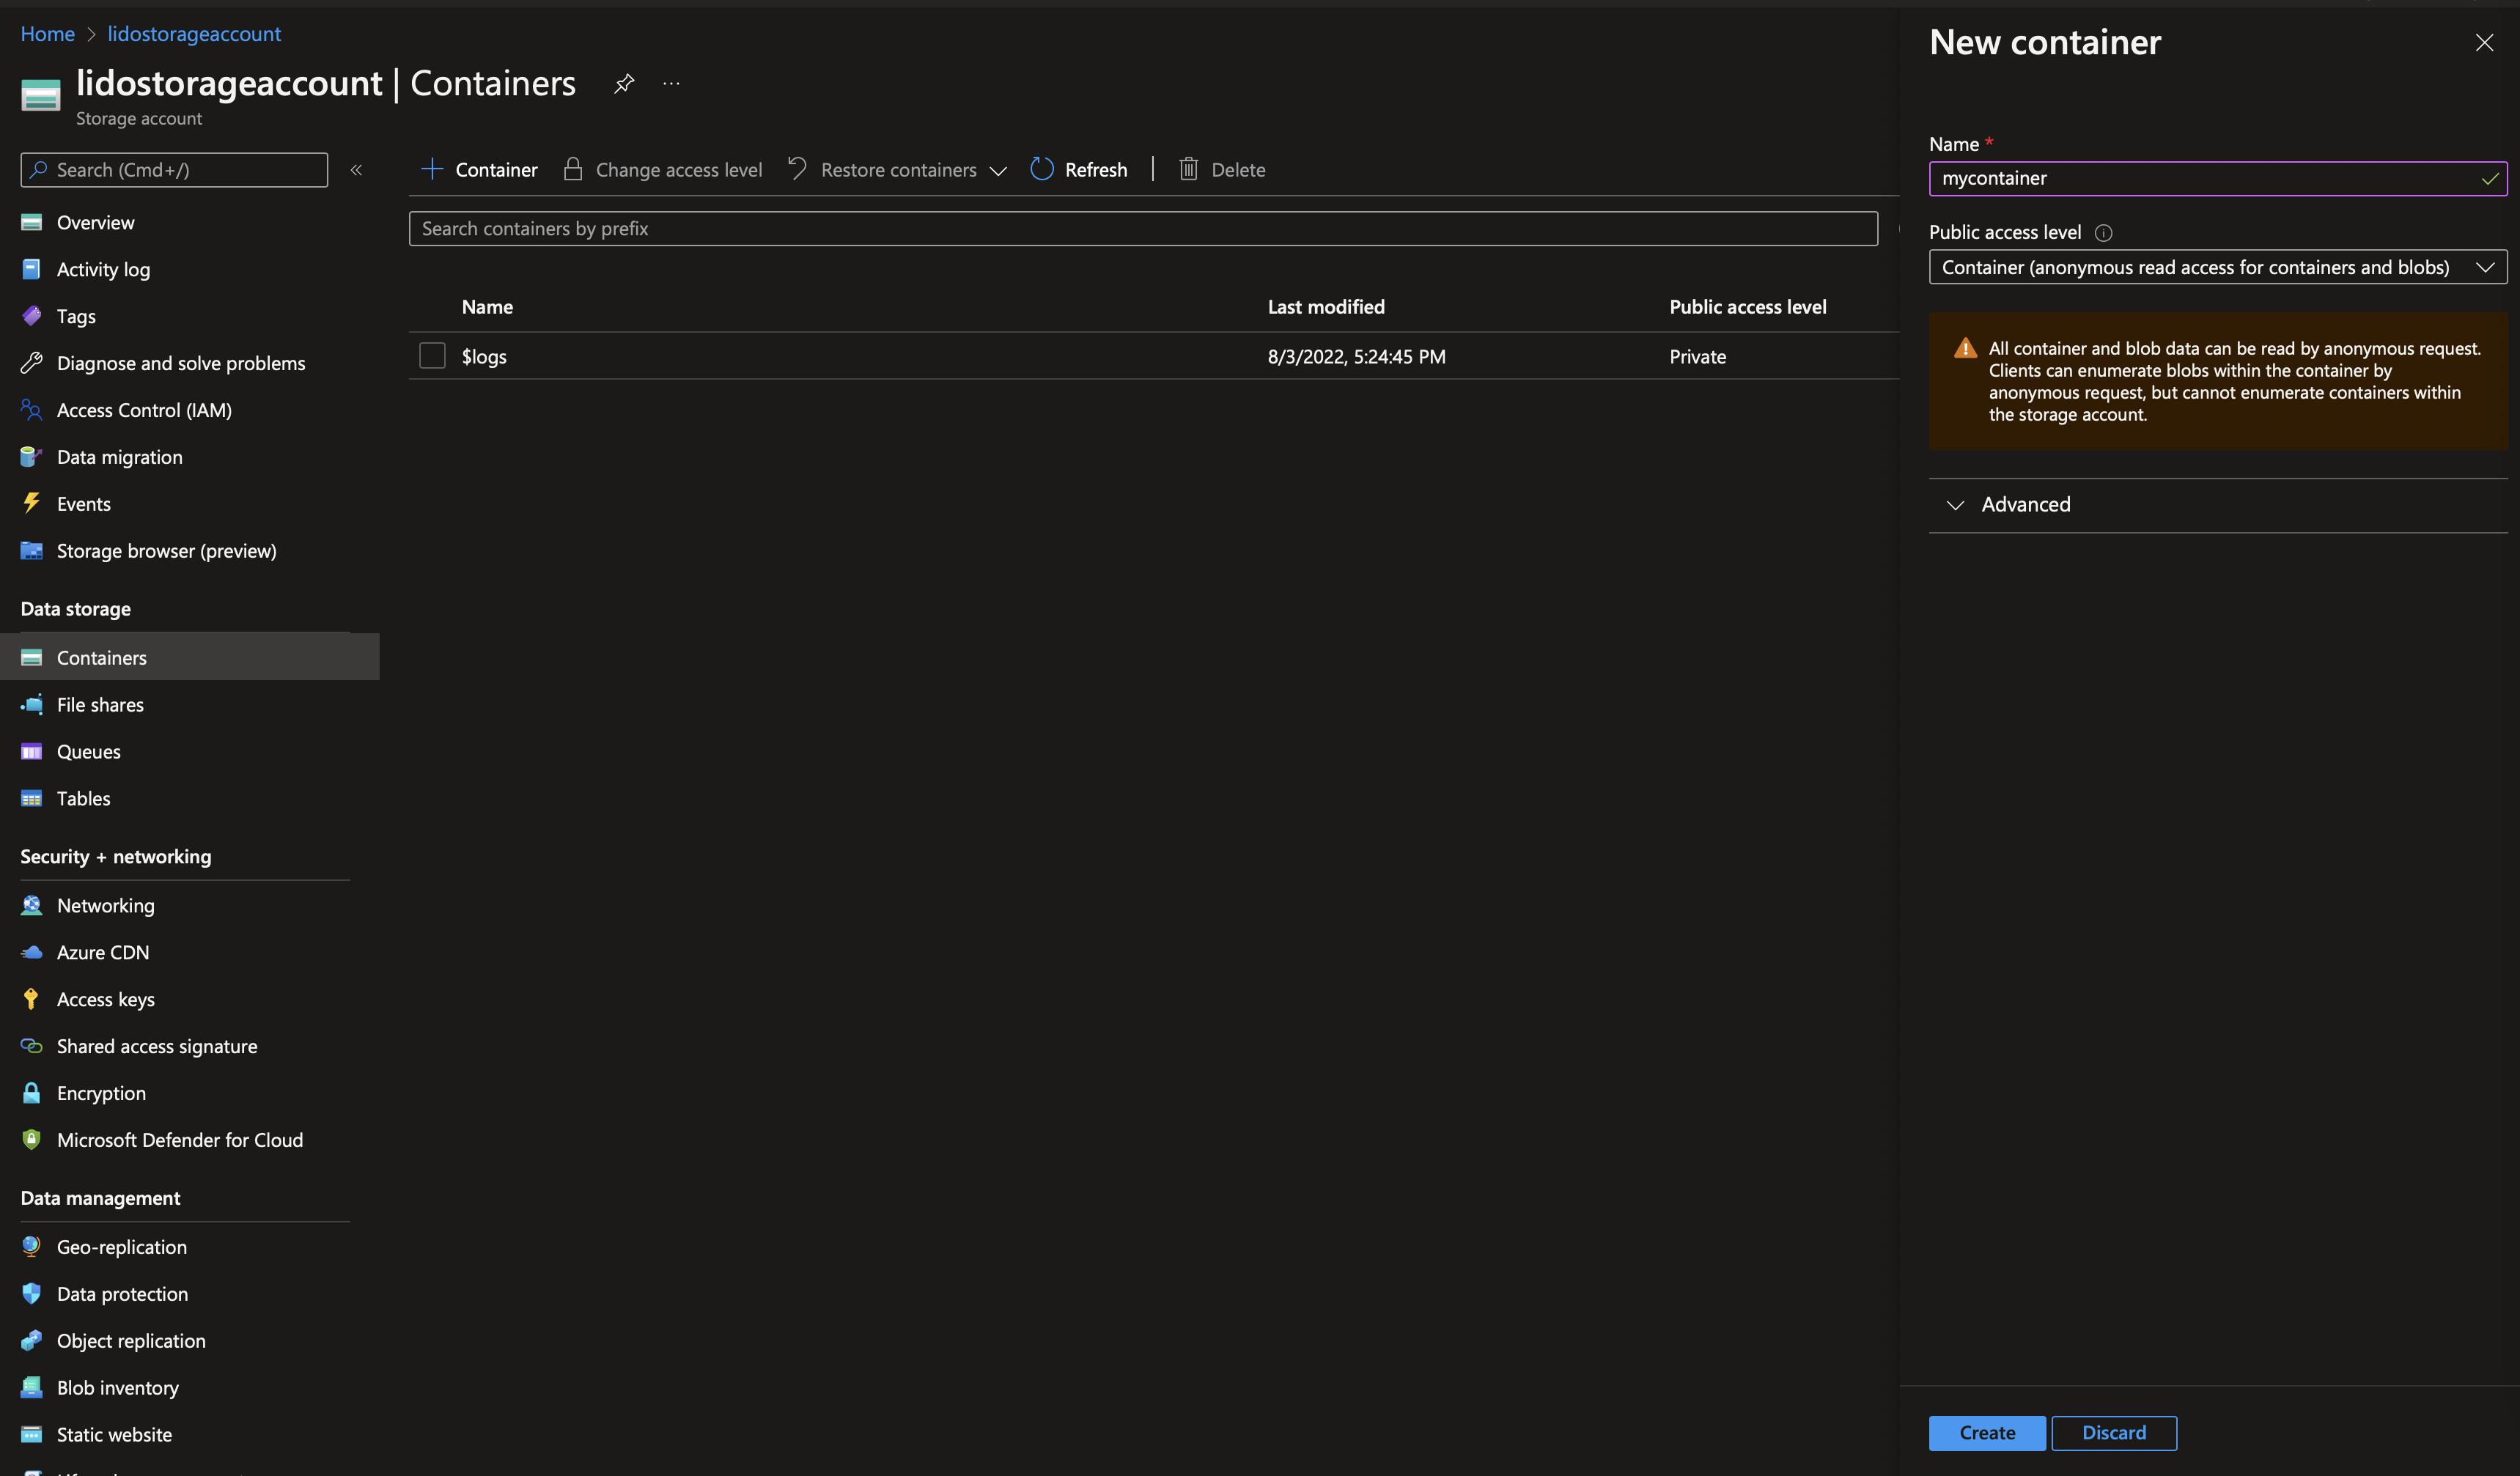
Generate SAS Token
- In the Storage Account menu, open
Shared Access Signature(SAS) from the left sidebar. Then configure the settings as followed:- Allowed services: Blob.
- Allowed resource type: Object.
- Allowed permission: Read, Write, Delete, Add, Create.
- Configure the start and expiry date according to your needs.
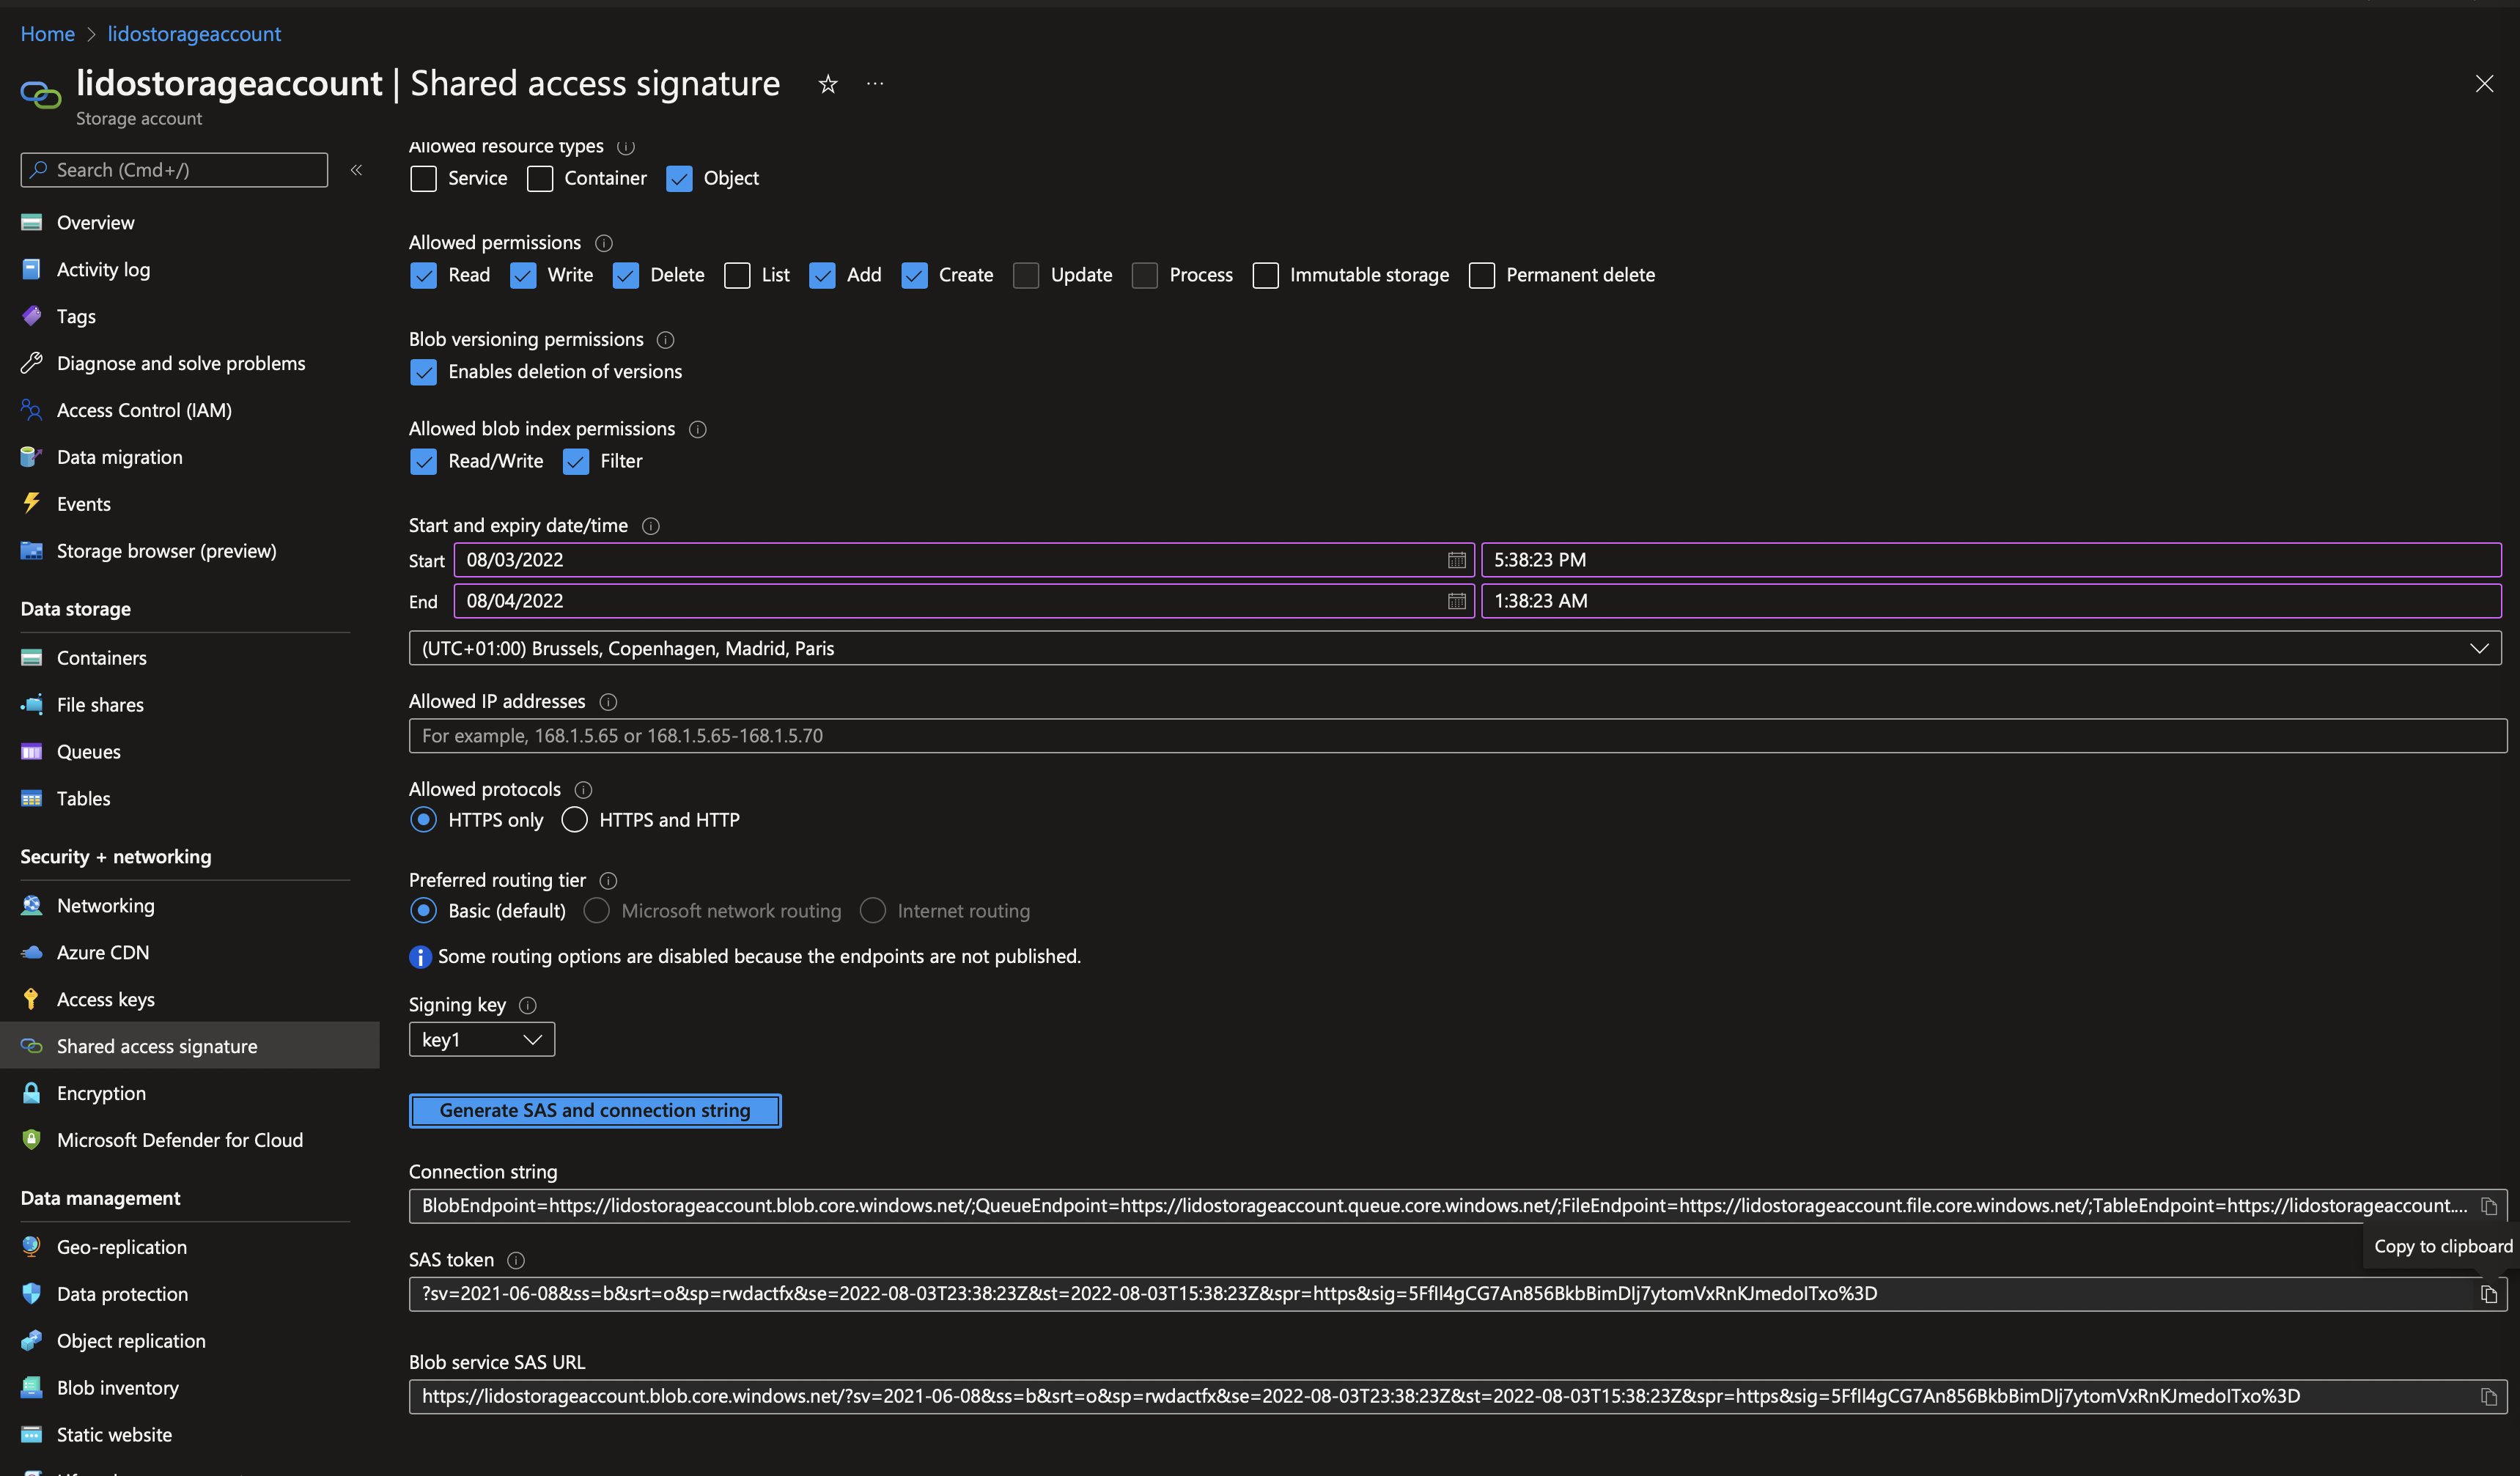
When the configuration is filled, press Generate SAS and connection string.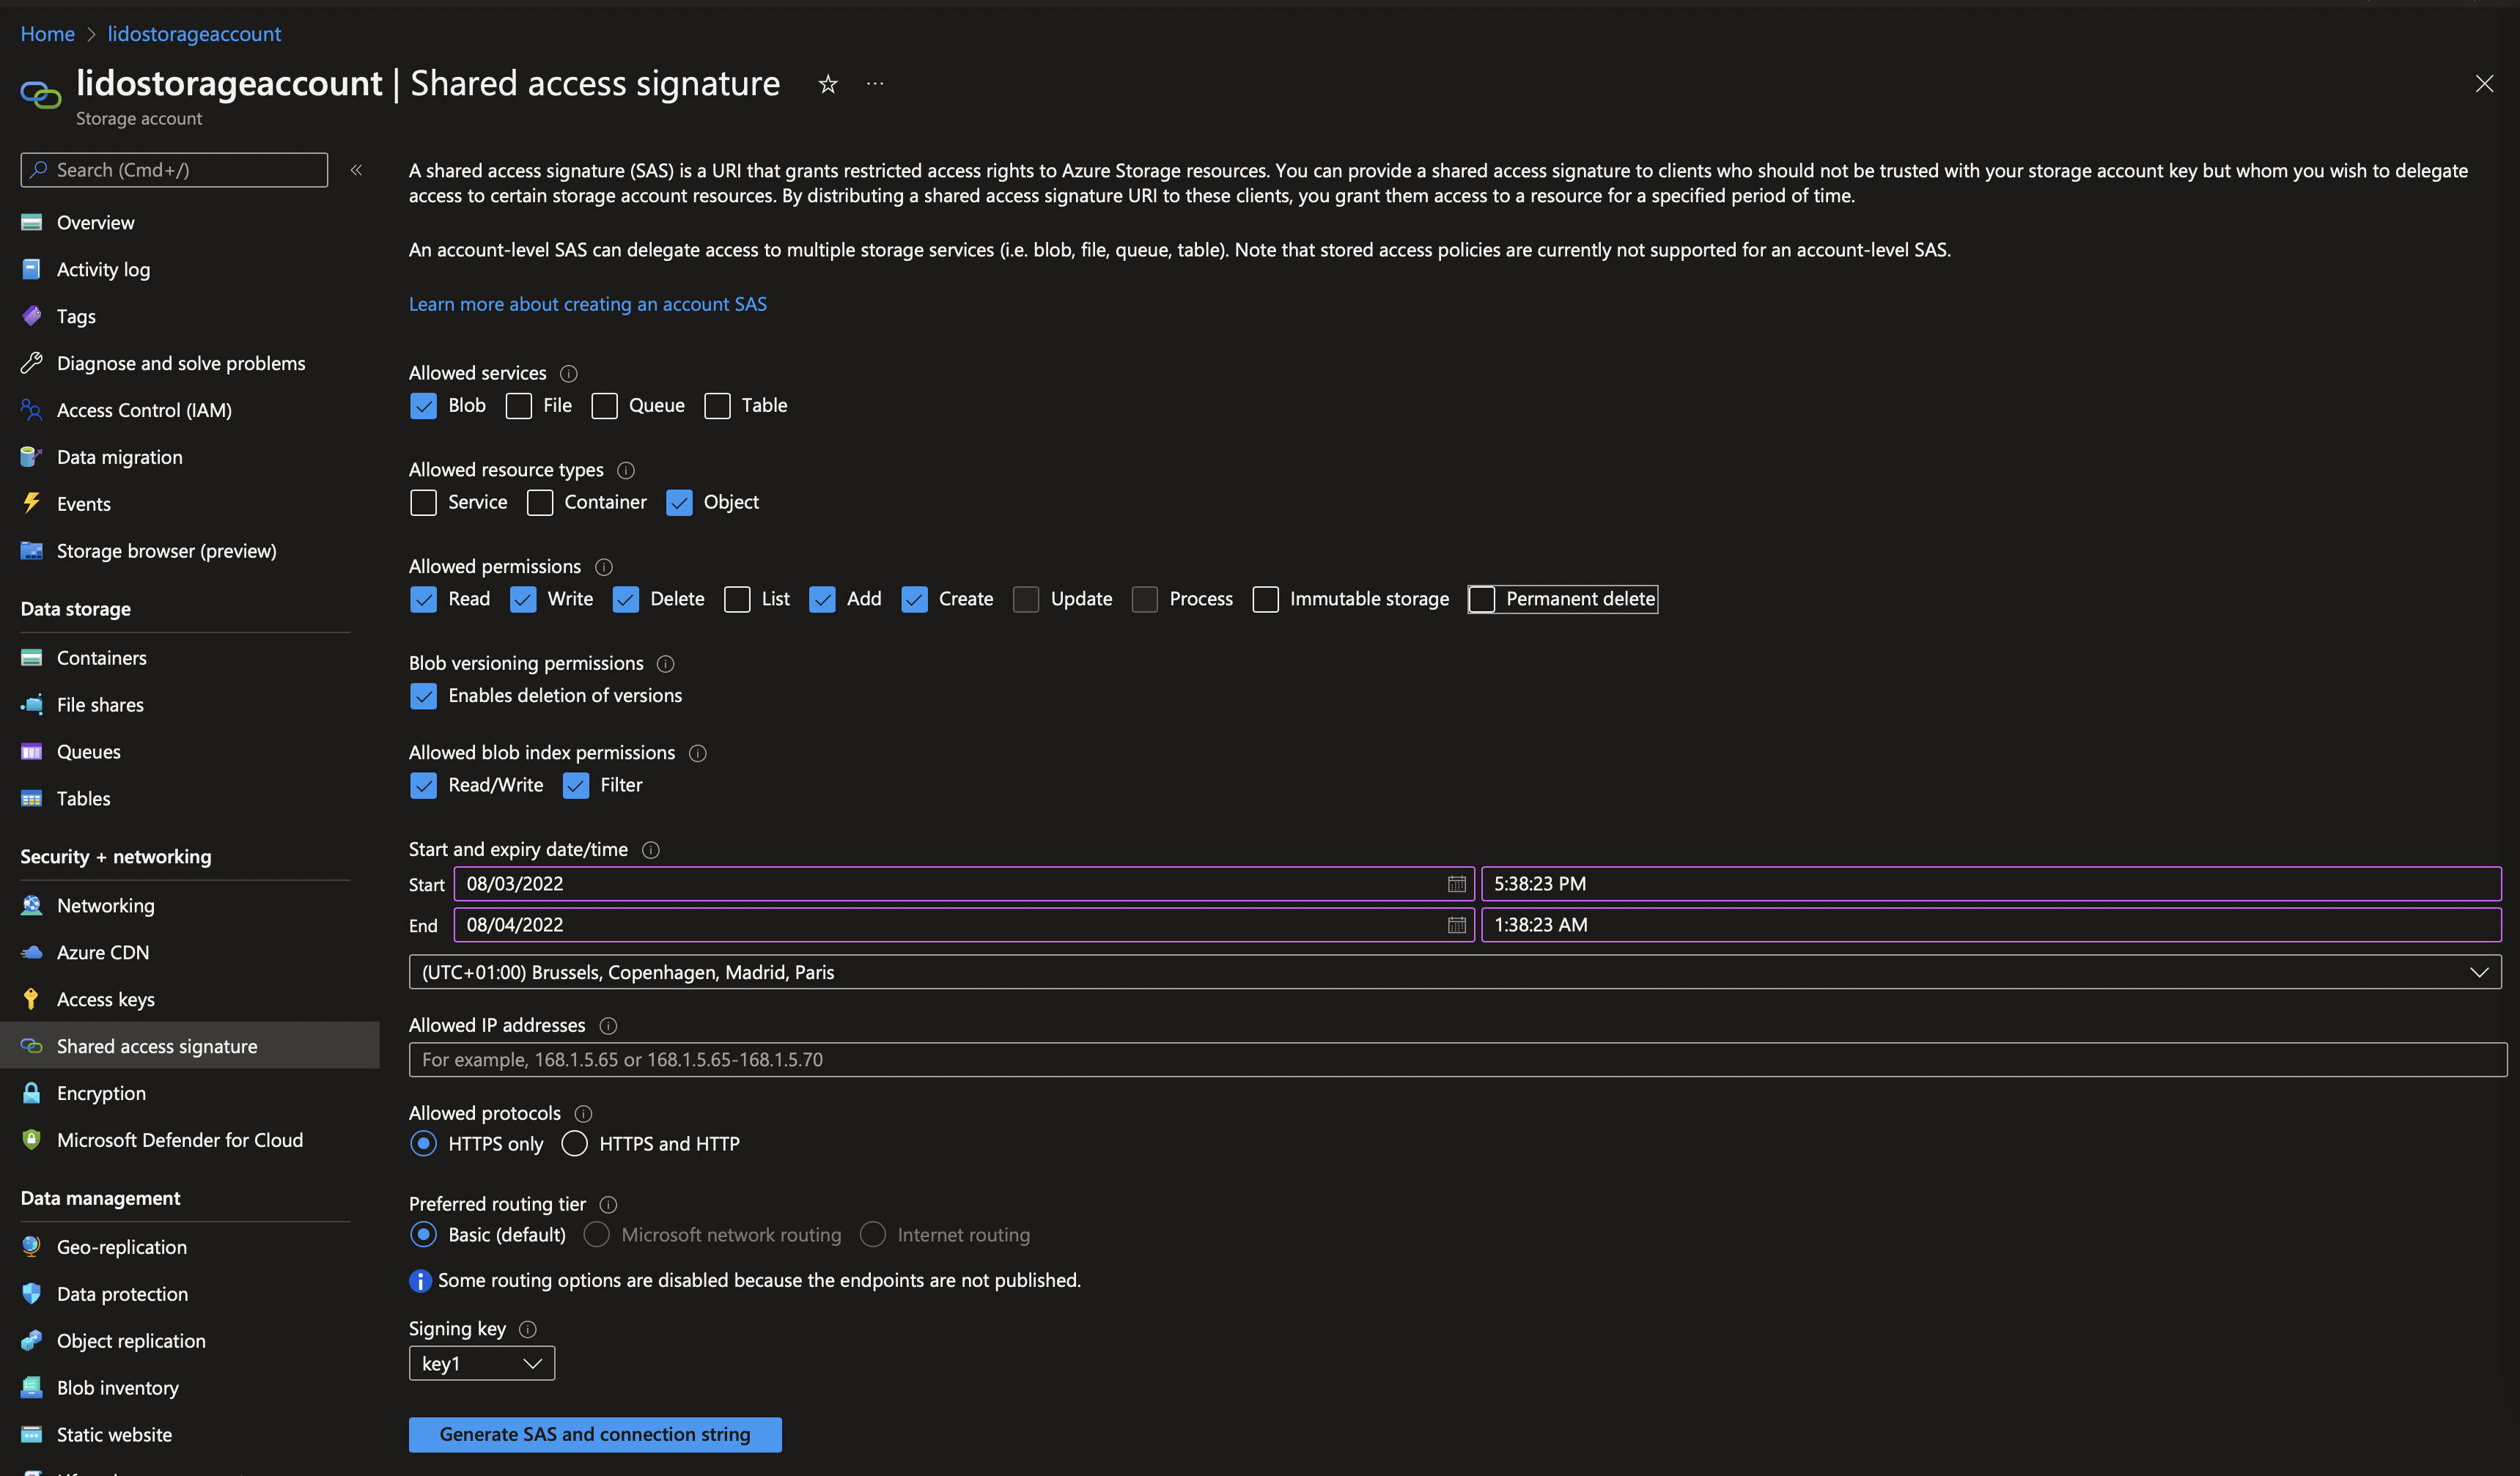
- Scroll down in the
Shared Access Signaturemenu to find the newly generated SAS token. Use this SAS token in the Livingdocs Server configuration undersasToken.
Configuring the Livingdocs Server to use Azure Blob Storage as storage
In your local configuration, set the storage strategy to azure-blob-storage and add the container name and the Blob Service SAS URL from the Azure Storage Account settings:
{
  images: {
    publicUrl: 'https://my-storage-account.blob.core.windows.net/my-container-name/',
    storage: {
      strategy: 'azure-blob-storage',
      config: {
        storageAccountName: 'my-storage-account'
        sasToken: '?my-sas-token', // optional, do not define sasToken when using DefaultAzureCredential
        containerName: 'my-container-name'
      }
    }
  },
  files: {
    publicUrl: 'https://my-storage-account.blob.core.windows.net/my-container-name/',
    storage: {
      strategy: 'azure-blob-storage',
      config: {
        storageAccountName: 'my-storage-account'
        sasToken: '?my-sas-token', // optional, do not define sasToken when using DefaultAzureCredential
        containerName: 'my-container-name'
      }
    }
  },
  designs: {
    assets: {
      publicUrl: 'https://my-storage-account.blob.core.windows.net/my-container-name/',
      storage: {
        strategy: 'azure-blob-storage',
        config: {
          storageAccountName: 'my-storage-account'
          sasToken: '?my-sas-token', // optional, do not define sasToken when using DefaultAzureCredential
          containerName: 'my-container-name'
        }
      }
    }
  }
}