We have configured an example include table using an iframe modal and Handsontable where you can create an include as a Livingdocs component which renders a table of data, configured using Handsontable.
To get this feature working you need to do the following things:
- Set up an include component in the Livingdocs server
- Set up Handsontable as a separate application with functions to send and receive data as a post message
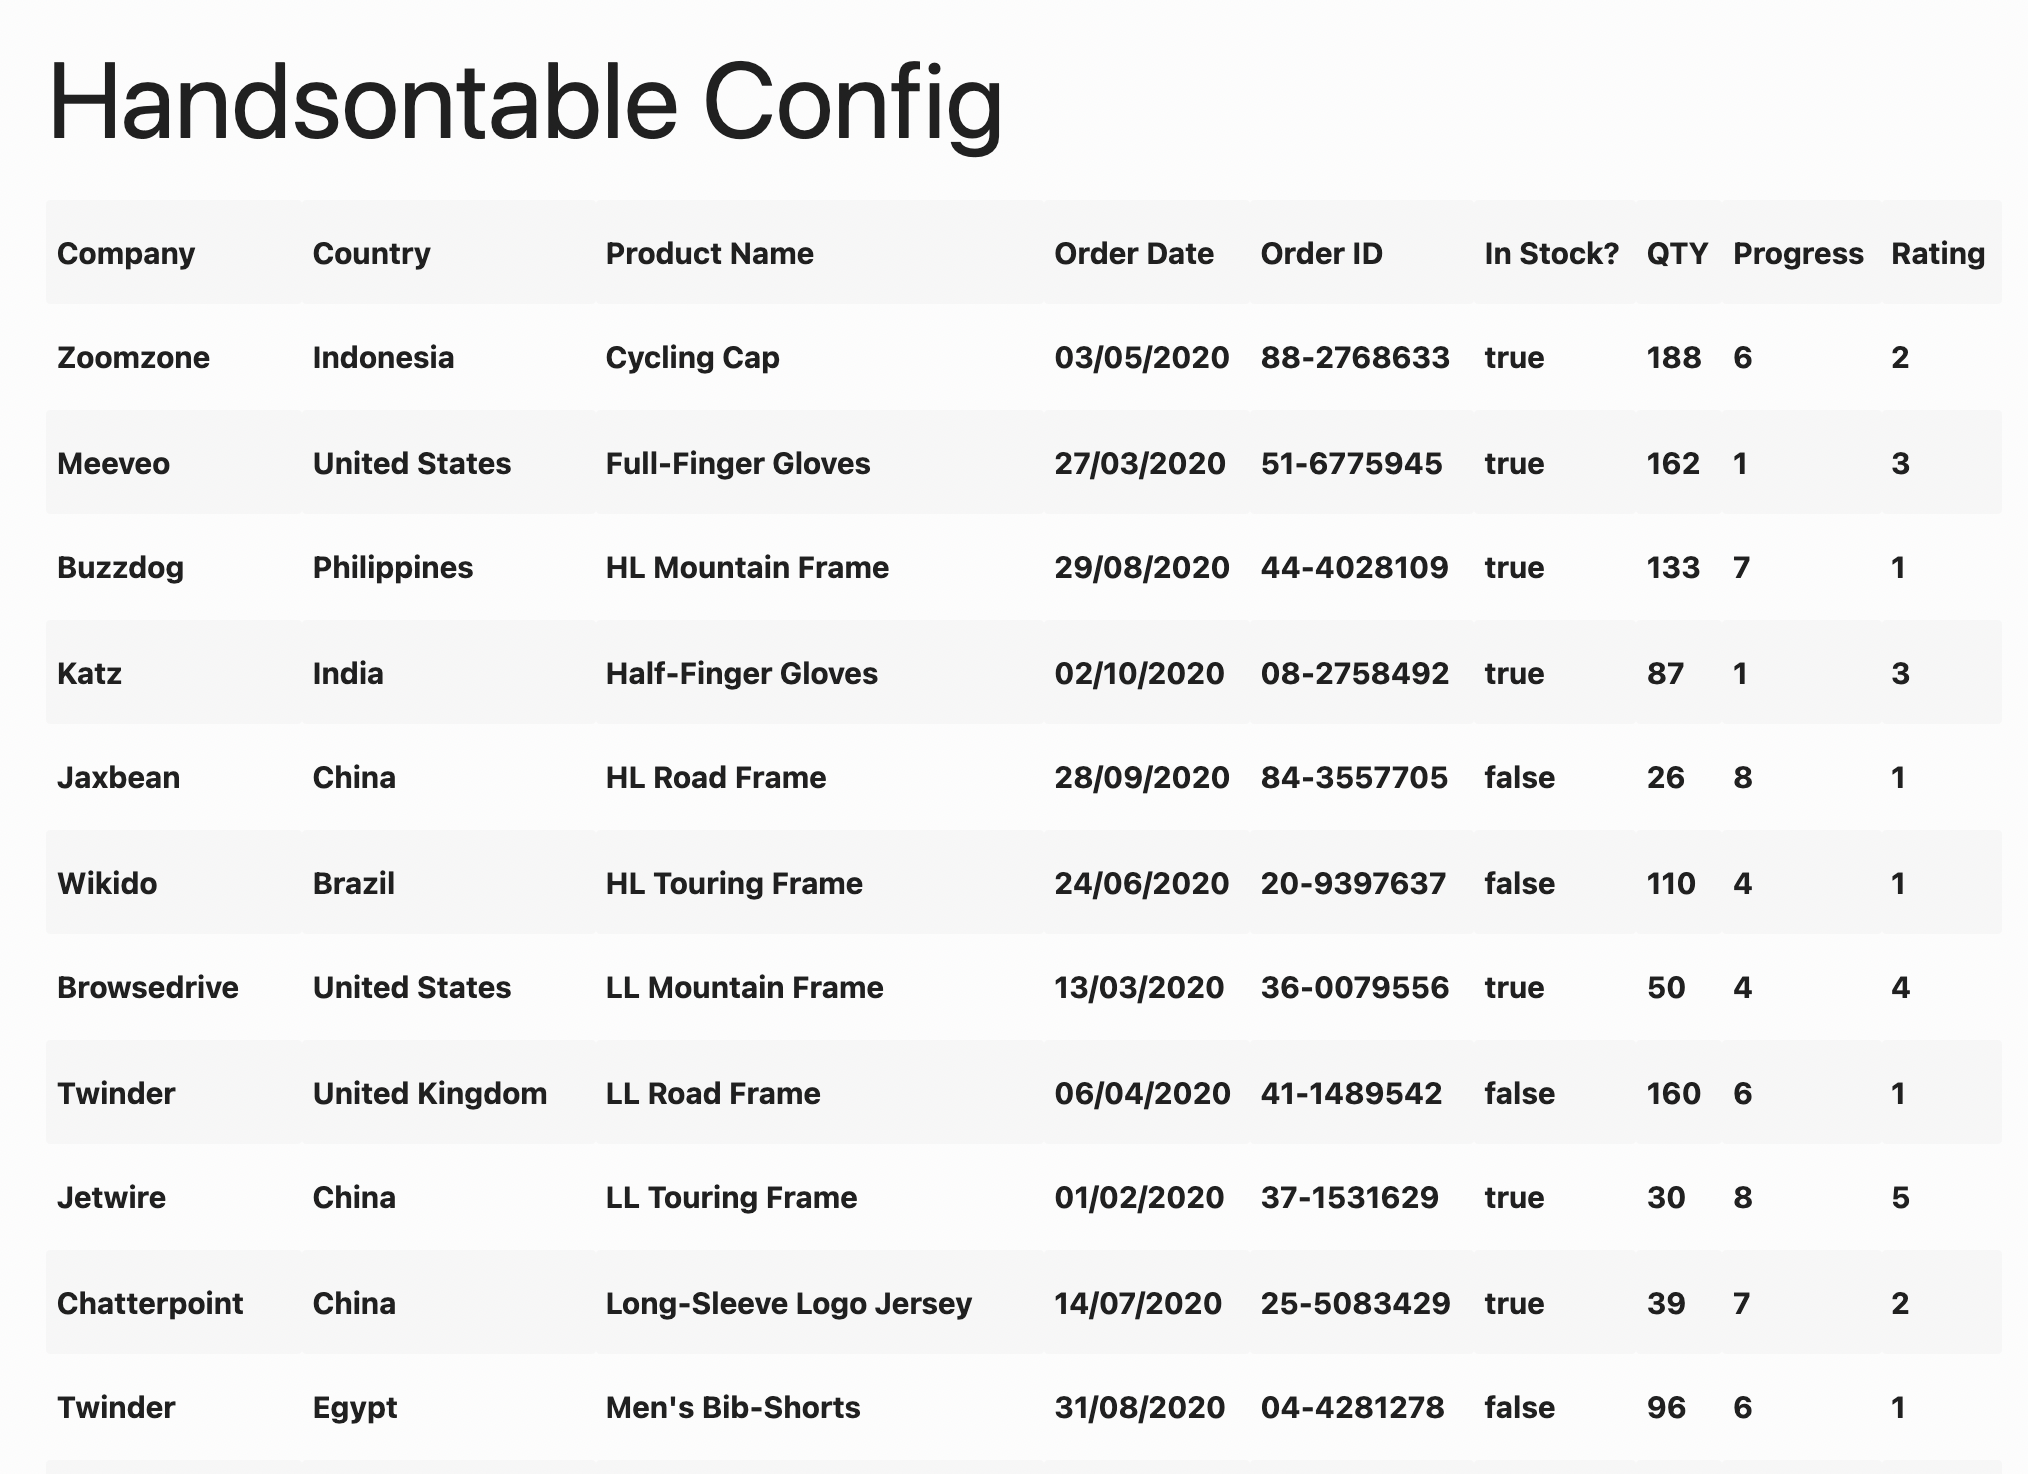
The modal will let you input data into a handsontable, as below:

And save it to Livingdocs, a simple table render is seen below:
Setting up the Include function on the Server
For in-depth documentation on Include functions, check out the documentation here: Includes Overview
For this example, the Handsontable include is a very basic iframe and modal. The iframe renders returned JSON from the modal, which hosts the Handsontable example server.
The data from the table is returned as an array of arrays, where each array is a row of data.
To get the component working, create a file in components with the following code:
module.exports = {
  name: 'handsontable',
  label: 'handsontable',
  directives: [
    {
      name: 'handsontable',
      type: 'include',
      service: 'handsontable',
      defaultParams: {
        isDefault: true
      }
    }
  ],
  html: `<div doc-include="handsontable" height="400" width="600" style="border: 0;">Handson</div>`
}
Ensure default Params is set to true for the post messaging to work.
Then in the directory plugins/includes/ you need the following code:
module.exports = {
  name: 'handsontable',
  uiComponents: [
    {
      type: 'iframe-modal',
      sidebarLabel: 'Handsontable Element',
      sidebarButton: 'Configure',
      modalTitle: 'Configure Handsontable',
      modalContentUrl: 'the url of your handsontable application'
    }
  ],
  rendering: {
    type: 'function',
    render: renderHandsontable
  }
}
Once these two files are created, you must register the Handsontable in the includesAPI in runtime_config.js. You must also list the component in design_settings.js and require it in the index.js file.
Rendering the returned table in Livingdocs
At the moment, the include expects a JSON array of table data. If you want to configure your own rendering from the contents of the table, you can use params.innerData on the server and configure the iframe render function.
For this example the data is simply rendered by row with the below function:
async function renderHandsontable(params) {
  if (params.innerData) {
    return {
      html: dedent`<table>
     ${renderArray(params.innerData)}
      </table>`
    }
  } else {
    return {
      html: dedent`<div>Click to configure Handsontable Include</div>`
    }
  }
}

function renderArray(array) {
  return array
    .map((subArray, outerIndex) => {
      const valueArrayHTML = subArray.map((item, index) => {
        if (index === 0) {
          return
        } else {
          return `<th :key=${index}>${item}</th>`
        }
      })
      return `<tr :key=${outerIndex}>${valueArrayHTML.join('')}</tr>`
    })
    .join('')
}
Sending and receiving data with Livingdocs
The function for the iframe modal to send messages is already written in the Editor, it waits for a config request before sending configs with a postMessage back to the iframe.
In your separate handsontable application you will need two functions to communicate with Livingdocs.
This function sends data and configs to Livingdocs using postMessage:
await window.parent.postMessage(
  {
    params: {
      innerData: dataArray
    },
    action: 'update'
  },
  '*'
)
If the user chooses to reopen the configuration and edit the content, the configuration is received by this function with a config query post message:
async function getConfig() {
  await window.parent.postMessage(
    {
      query: 'config'
    },
    '*'
  )
  await window.addEventListener(
    'message',
    (event) => {
      if (event.data.query === 'config') {
        if (event.data.params.innerData) {
          dataArray = event.data.params.innerData
        } else {
          dataArray = dataArray
        }
      }
    },
    false
  )
}
The dataArray will need to be configured depending on whether or not you are using a framework - but in this function it is updated if there have been previous changes.
Handsontable Example Code and Configuration
Handsontable is a very configurable program and it is worth scanning their docs for the options you want, they can be found here: Handsontable Documentation
They have a demo with rendering options in JavaScript, TypeScript, Vue, React and Angular. All the code to set up these files is in their sandbox, available here: Handsontable Demo
If you want to get started with a very basic table, you can input these settings to Handsontable:
data: dataArray
height: 450,
colHeaders: true,
rowHeaders: true,
cell: [
  {
    row: 0,
    col: 3,
    type: "text",
  },
  {
    row: 0,
    col: 5,
    type: "text",
  },
  {
    row: 0,
    col: 6,
    type: "text",
    readOnly: false,
  },
  {
    row: 0,
    col: 7,
    type: "text",
    readOnly: false,
  },
],
columns: [
  { data: 1, type: "text" },
  { data: 2, type: "text" },
  { data: 3, type: "text" },
  { data: 4, type: "date", allowInvalid: true },
  { data: 5, type: "text" },
  { data: 6, type: "checkbox", className: "htCenter" },
  { data: 7, type: "numeric" },
],
dropdownMenu: true,
hiddenColumns: {
  indicators: true,
},
contextMenu: true,
filters: true,
manualRowMove: true,
licenseKey: "non-commercial-and-evaluation",
}
Then depending on how you want to render Handsontable will depend on how you give it the dataArray. For example, when built with vue you can use a content object which is reactive.
A useful starter dataArray is [['false', 'A header', 'Another Header', 'A third header', 'An Example Date', 'A fourth header', 'An example checkbox', 'A fifth header'],['false', 'Some content', 'Some more content', 'Third content', '10/11/2021', 'Fourth content', true, 'Final content']]
This will configure your table with a row of headers and a row of data, to add rows simply use right click “insert row below”.
An example set up in Vue.js
An example set up in vue is found in the Handsontable demo sandbox here: Handsontable Sandbox
To set up your own application using vue, you can copy and paste a lot of the code from Handsontable, then follow these steps:
- Create an
App.vuewhich renders aDataGrid.vueas below:
<template>
  <div id="app">
    <DataGrid
      v-if="showDataGrid"
      v-bind:content="content"
      id="tableHTML"
    />
    <button v-on:click="save()">Save</button>
  </div>
</template>
- Inside this file either use your own data array, the simple array above or import the data from the
constants.jsfile in the sandbox. Once you have this, return the data as reactive and set a conditional to ensure it has loaded the data before rendering:
data () {
    return {
      content: reactive(demoData),
      showDataGrid: false
    }
  }
- Write two functions to communicate with the Livingdocs modal:
methods: {
  save() {
    const vm = this;
    async function handleSubmit() {
      await window.parent.postMessage(
        {
          params: {
            innerData: vm.content
          },
          action: "update",
        },
        "*"
      );
    }
    handleSubmit();
  },
  getTableData() {
    const vm = this;
    async function getConfig() {
      await window.parent.postMessage(
        {
          query: "config",
        },
        "*"
      );
      await window.addEventListener(
        "message",
        (event) => {
          if (event.data.query === "config") {
            if (event.data.params.innerData) {
              vm.content = event.data.params.innerData;
            } else {
              vm.content = reactive(demoData)
            }
              vm.showDataGrid = true
          }
        },
        false
      );
    }
    getConfig();
  },
  mounted() {
    this.getTableData();
  }
}
- In a DataGrid.vue add the settings above into hotSettings and have the data be this.content, along with adding “content” as props and components as HotTable, as below:
export default {
  name: "DataGrid",
  props: ["content"],
  data: function () {
    return {
      hotSettings: {
        height: 450,
        colHeaders: true,
        ...as above
        licenseKey: "non-commercial-and-evaluation",
      },
      data: this.content,
    };
  },
  components: {
    HotTable,
  },
};
- Once these files are set up, run the components however you feel best, change the url inside the include component in Livingdocs and it will run as expected.